Jira Service Management integration with Salesforce is the best way to keep the sales team in sync with the company’s service desk.
For teams looking to streamline collaborations between the support team and salespeople, connecting Jira Service Management data with Salesforce will help them improve productivity and make information readily available.
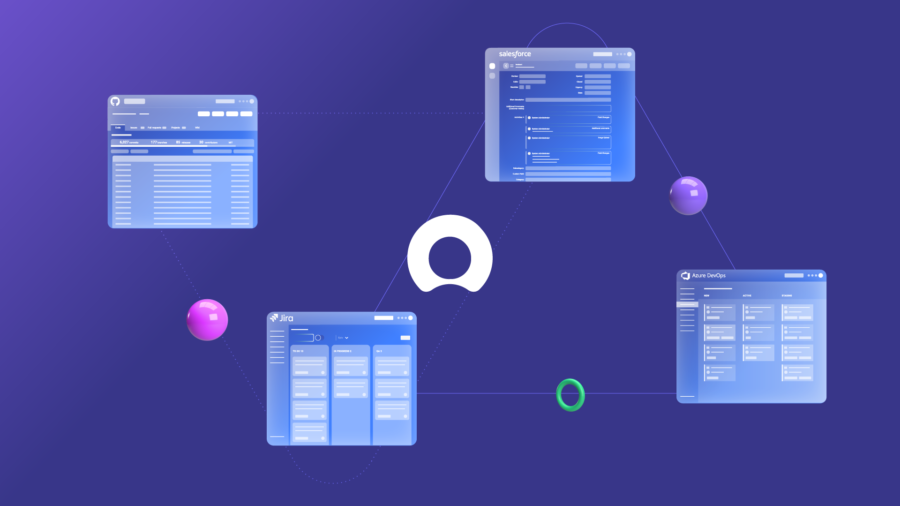
The right third-party solution, like Exalate, will help you connect the entities, fields, and projects needed to make the collaboration successful.
I’ll explore how to use Exalate to integrate Salesforce and Jira Service Management using Exalate’s AI-powered scripting engine.
What is Jira Service Management to Salesforce Integration?
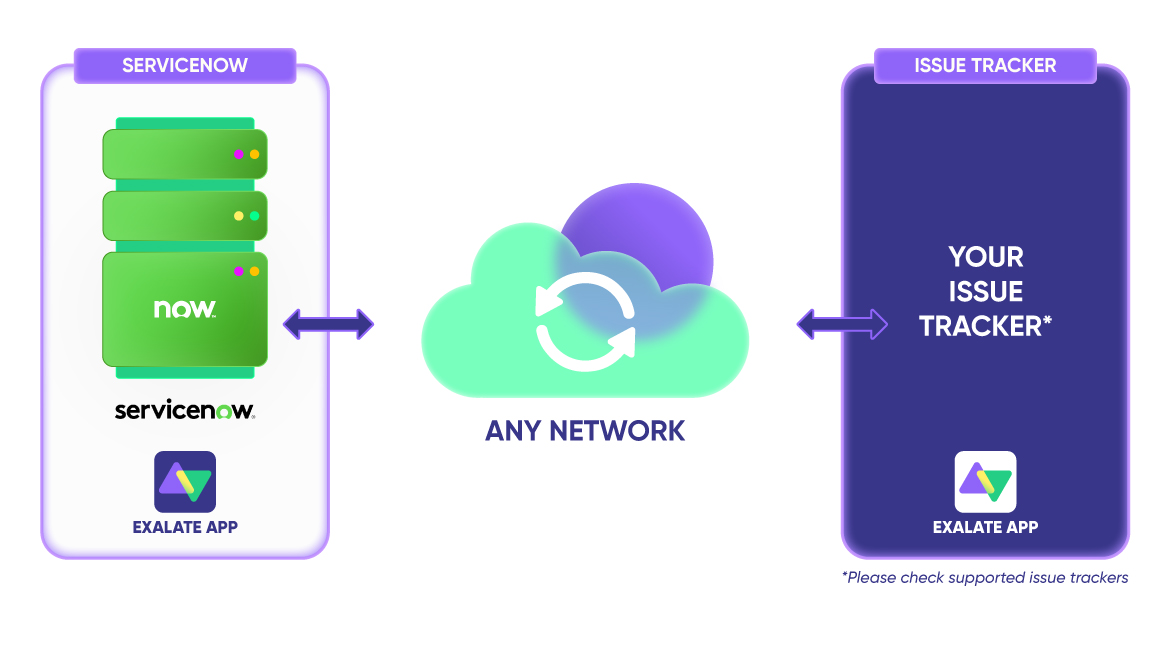
Jira Service Management to Salesforce integration is the process of connecting both platforms unidirectionally or bidirectionally in order to get them to interact (in real-time or based on triggers).
Think of it as connecting two systems with middleware, Salesforce to Jira connector. The goal is to fetch and send data from either side based on the configurations.
Data exchange between Jira and Salesforce usually follows the ETL (extract-transform-load) or ELT (extract-load-transform) model. Salesforce uses HTML internally to represent comments, and Jira uses Wiki Markup, so the transformation needs to happen automatically.
The transformation stage is also handled by the middleware solution by converting the data between platform-native formats before it gets to the individual systems.
Importance of Integrating Salesforce with Jira Service Management
Here are the benefits of Jira Service Management to Salesforce integration.
- Integrating Jira with Salesforce makes it possible for the service team to stay in close contact with the sales team. This will speed up access to vital information and increase the efficiency of service delivery.
- Organizations with an integrated service desk and sales data can make decisions better and faster because they have access to information in real time.
- Teams will stay in their own systems without having to migrate to a different platform just to access the information they need. This also prevents context switching and saves licensing and subscription costs.
- Customers enjoy better service delivery when Jira Service Management is integrated with Salesforce because teams on both ends have all the information they need.

Use Cases for Jira Service Management to Salesforce Integration
Here are some practical applications where teams and businesses can implement Jira Service Management to Salesforce integration using Exalate. These are technical use cases that can be applied to several business processes.
Case 1: Sync Comment Threads and User Mentions Between Salesforce and Jira
As of March 2025, Atlassian announced the implementation of threaded comments, but this feature still has issues. So, Exalate helps you with a reliable workaround by fetching comments from the chatter feed and making them appear in Jira.
Also, user mentions in Jira tags the correct corresponding user in Salesforce (if the user exists on both systems). And the comments from Jira also appear in Salesforce.
Here is a sample code snippet for handling the outgoing comments from Jira:
| . . .replica.comments = issue.comments.collect { comment -> def matcher = comment.body =~ /\[~accountid:([\w:-]+)\]/ def newCommentBody = comment.body matcher.each { target = nodeHelper.getUser(it[1])?.email newCommentBody = newCommentBody.replace(it[0],target) } comment.body = newCommentBody comment }. . . |
Our blog has the complete code snippets for both the Salesforce and Jira sides of the connection. Note that the code could have changed since the time of publication.
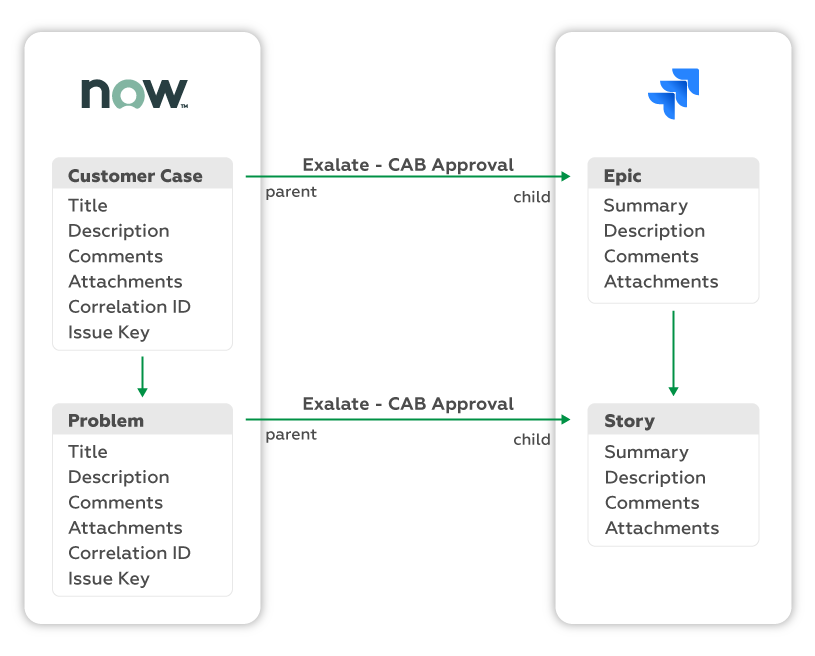
Case 2: Sync Multiple Salesforce Objects to a Single Jira Service Management Ticket
The sales team can sync multiple related objects from a Salesforce case to a single Jira Service Management ticket or issue.
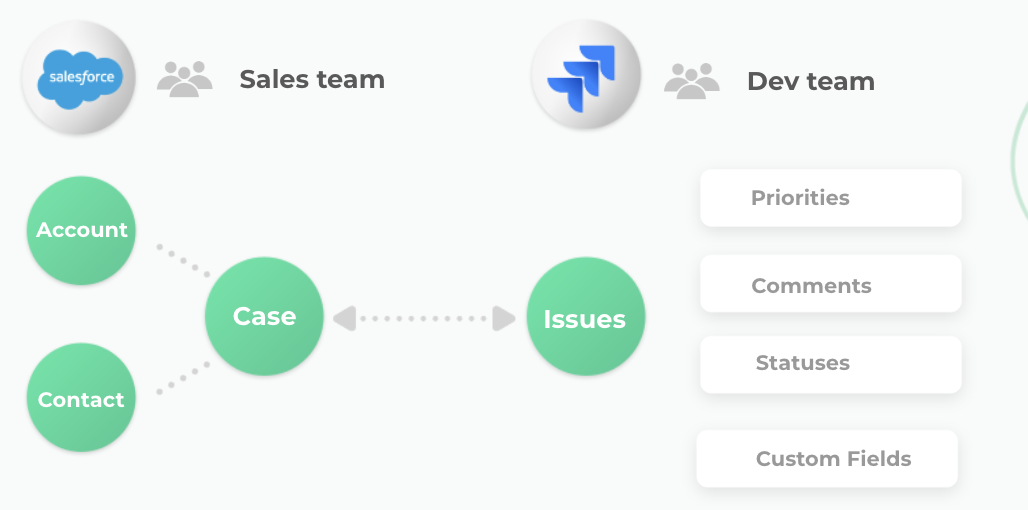
For instance, the team can sync the account and contact related to a specific case. This helps consolidate all the related information into a single source of truth so that admins can retrieve it whenever they want.
With this integration use case, you can sync field updates on opportunities with specific Jira tickets. This can be automated to trigger ticket creation whenever a prospect reaches the proposal stage.
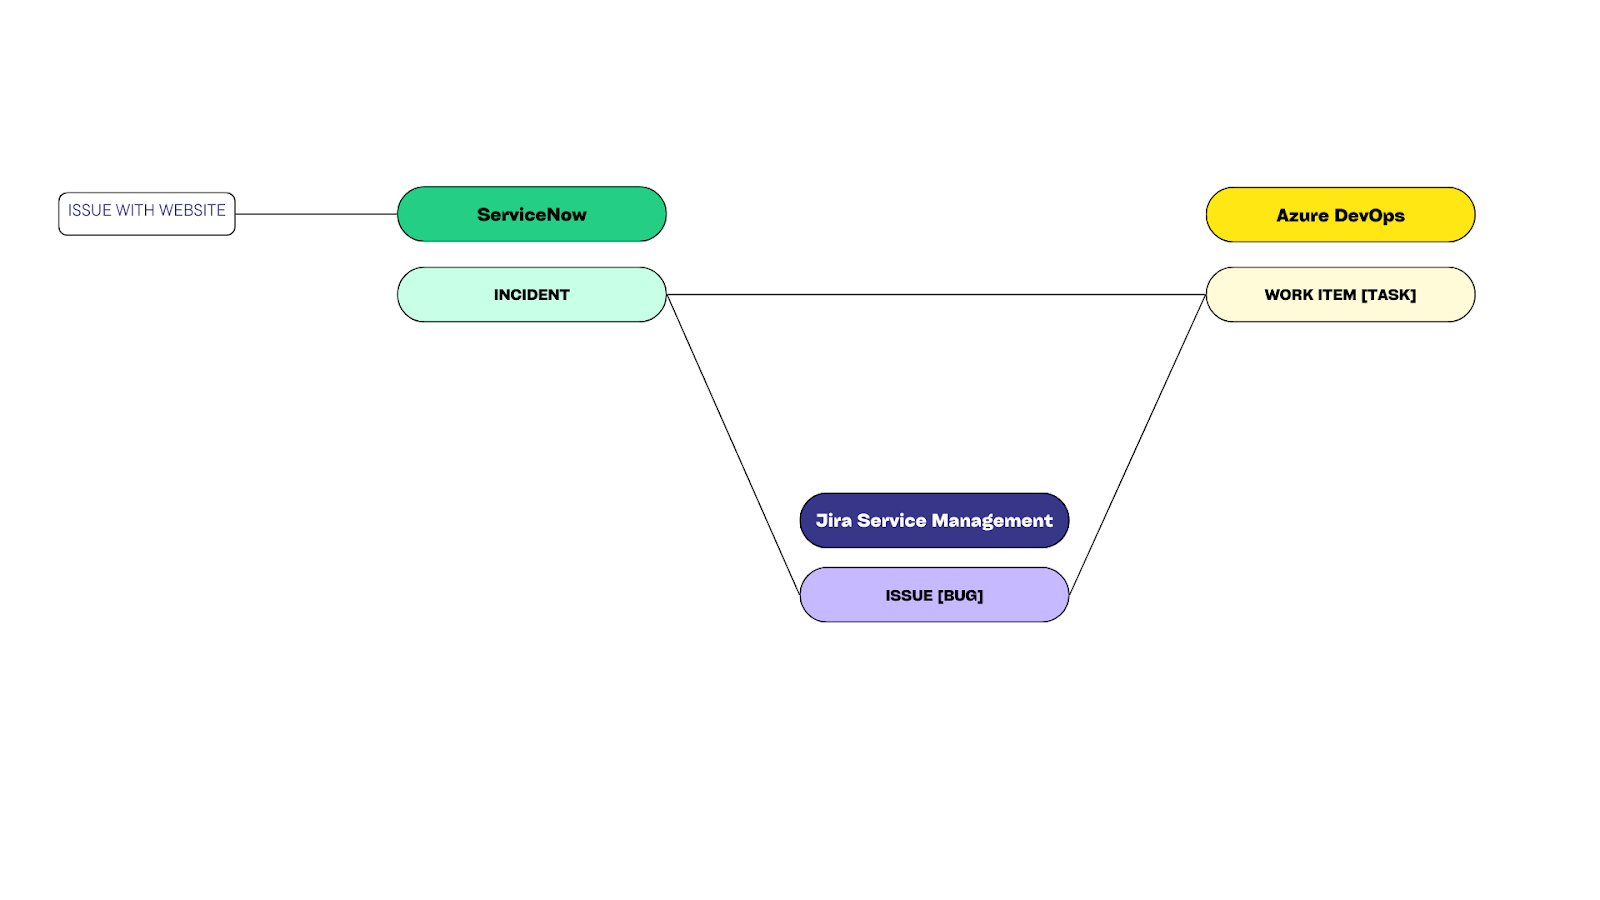
Case 3: Filter Incoming Salesforce Cases Based on Jira Issue Type
Exalate also allows teams to filter out incoming cases and sort them based on the type of issue.
So let’s say you have three cases coming in from a customer:
- A defect in the product prevents them from using your services.
- An issue they are unable to resolve on their own
- A feature they’d like to add to the product.
These issues will appear on the Jira Service Management board as a Bug, Service Request, and Change, respectively.
Case 4: Map Jira Insights to Create a Salesforce Opportunity
When a user creates an insight to a Jira ticket, the corresponding Salesforce opportunity is created instantly. The Salesforce field will be automatically updated with the status, priority, and other key elements.
Case 5: Create New Tasks in Jira for Every Contract Proposal
When a new opportunity requires a proposal, the sales team can automatically generate a task for the service team to address.
Instead of copying the details and sending them over manually, they can use conditional triggers and field mapping to ensure that new tasks are created in Jira Service Management for every proposal.
They’ll also be able to monitor the progress and status of every proposal as well as update the priority based on customer mood, etc.
Case 6: Sync the Knowledge Base
Your team can connect the knowledge base in Jira Service Management with a Salesforce case in order to speed up service resolution and accuracy.
When customers raise the same issues repeatedly, you can automate the creation of articles in Jira Service Management to proffer a solution automatically. This is the basic principle of most self-service initiatives.
Case 7: Update the Case Priority on the Jira Ticket
When a Salesforce case is high in priority, the Jira ticket should receive a comment specifying the level of urgency in plain words.
For instance, if the Case conveys a priority of “Highest” to the Jira ticket, a comment should also appear telling the service team that “The house is on fire..”. This will add more emphasis to the gravity of the situation.
How Exalate Handles Salesforce to Jira Service Management Integration
Exalate is easy to set up and use for Jira and Salesforce integration. Here is a quick breakdown of the steps to follow.
- Install the Exalate app on both Jira and Salesforce, following the guidelines provided in the documentation. The instance for Jira Service Management is available on the Atlassian marketplace (just search for Exalate connector for Jira). To install Exalate one Salesforce, you can either get it via the listing “Salesforce Connector for Jira” or via the Exalate integrations page.
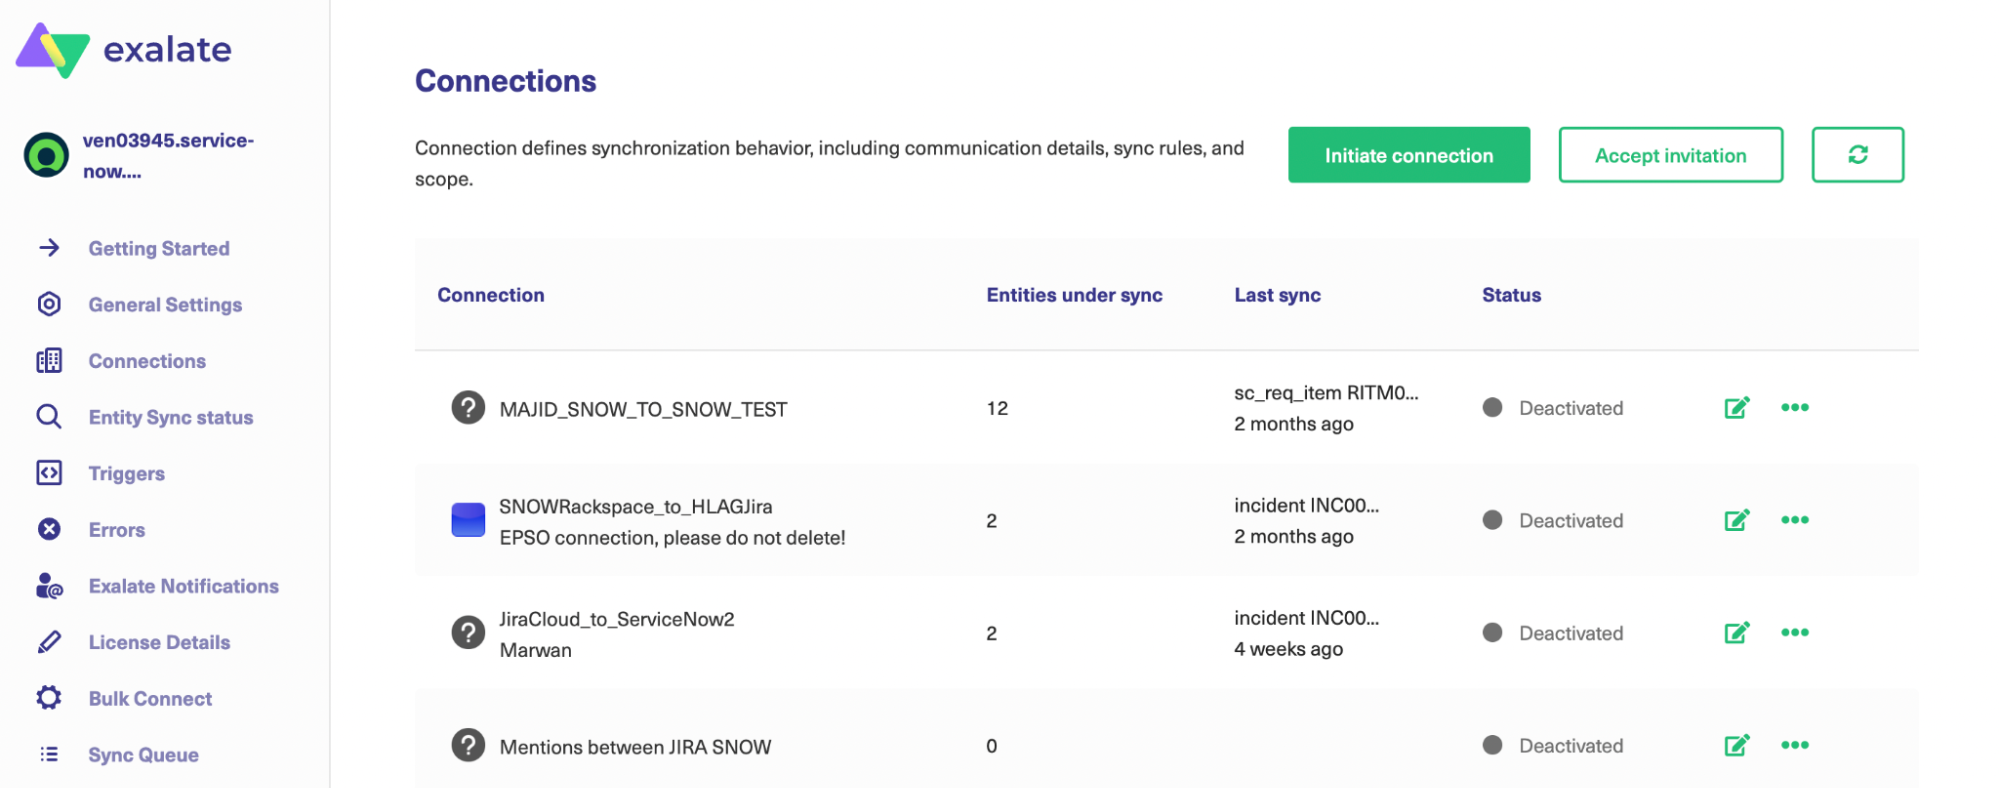
- Go to Connections and click the Initiate Connection button. You can start from one side and accept the invitation on the other end.

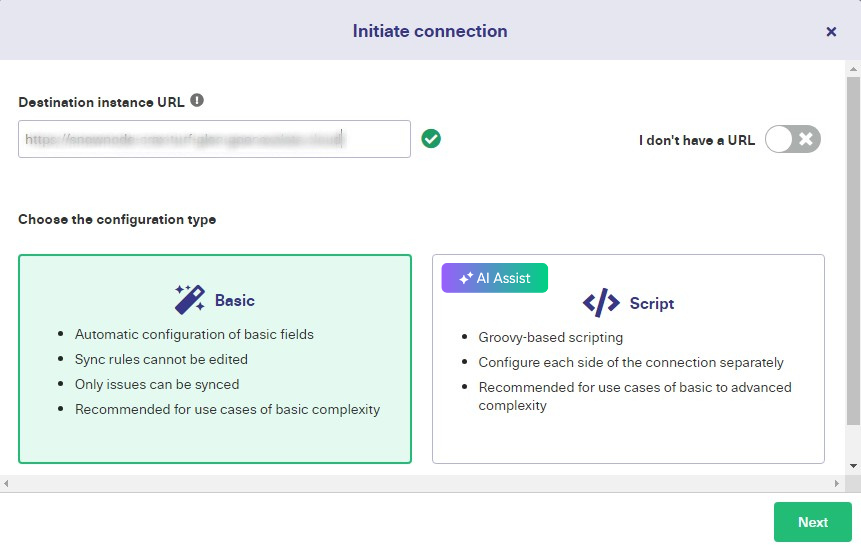
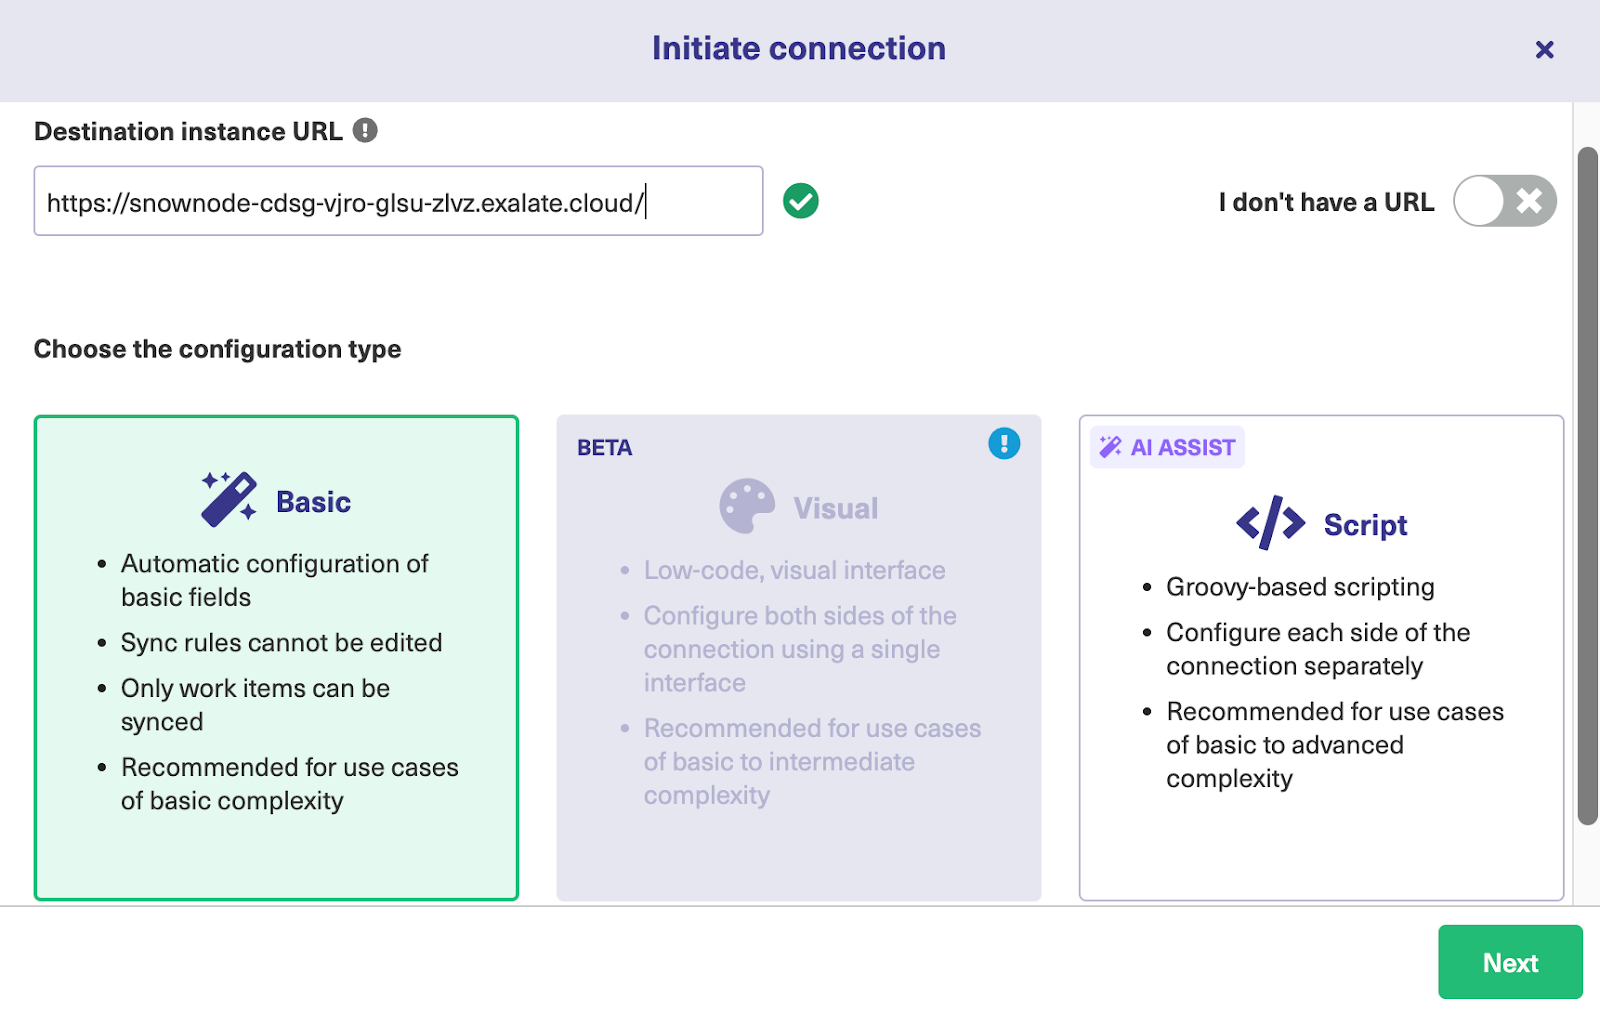
- Enter the destination URL and select the configuration type you want > Choose Basic Mode.
- Select the project you want to synchronize > Enter the issue key and click Exalate.
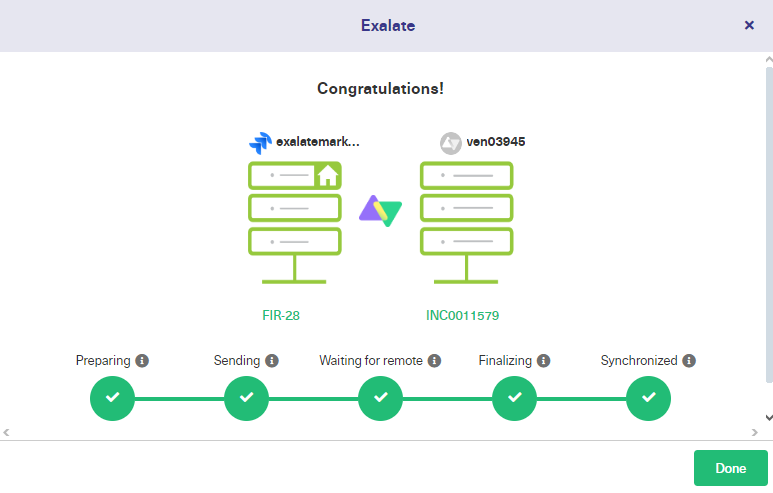
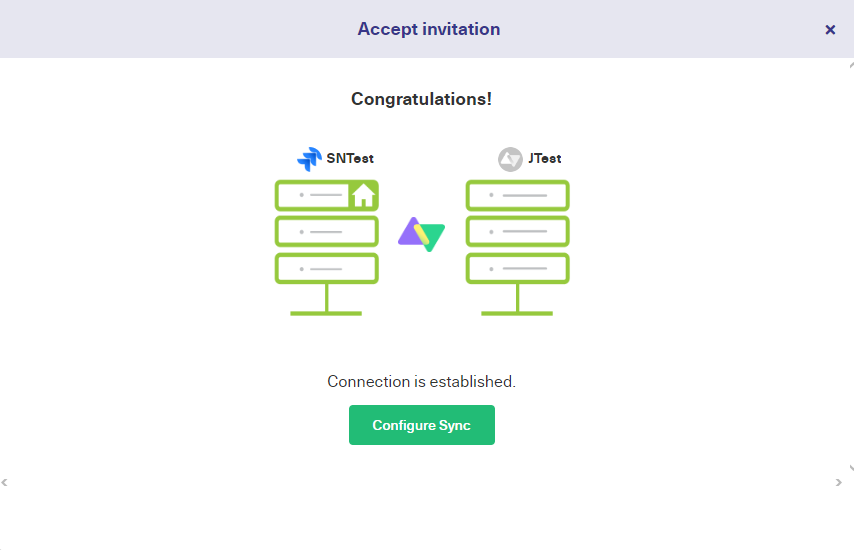
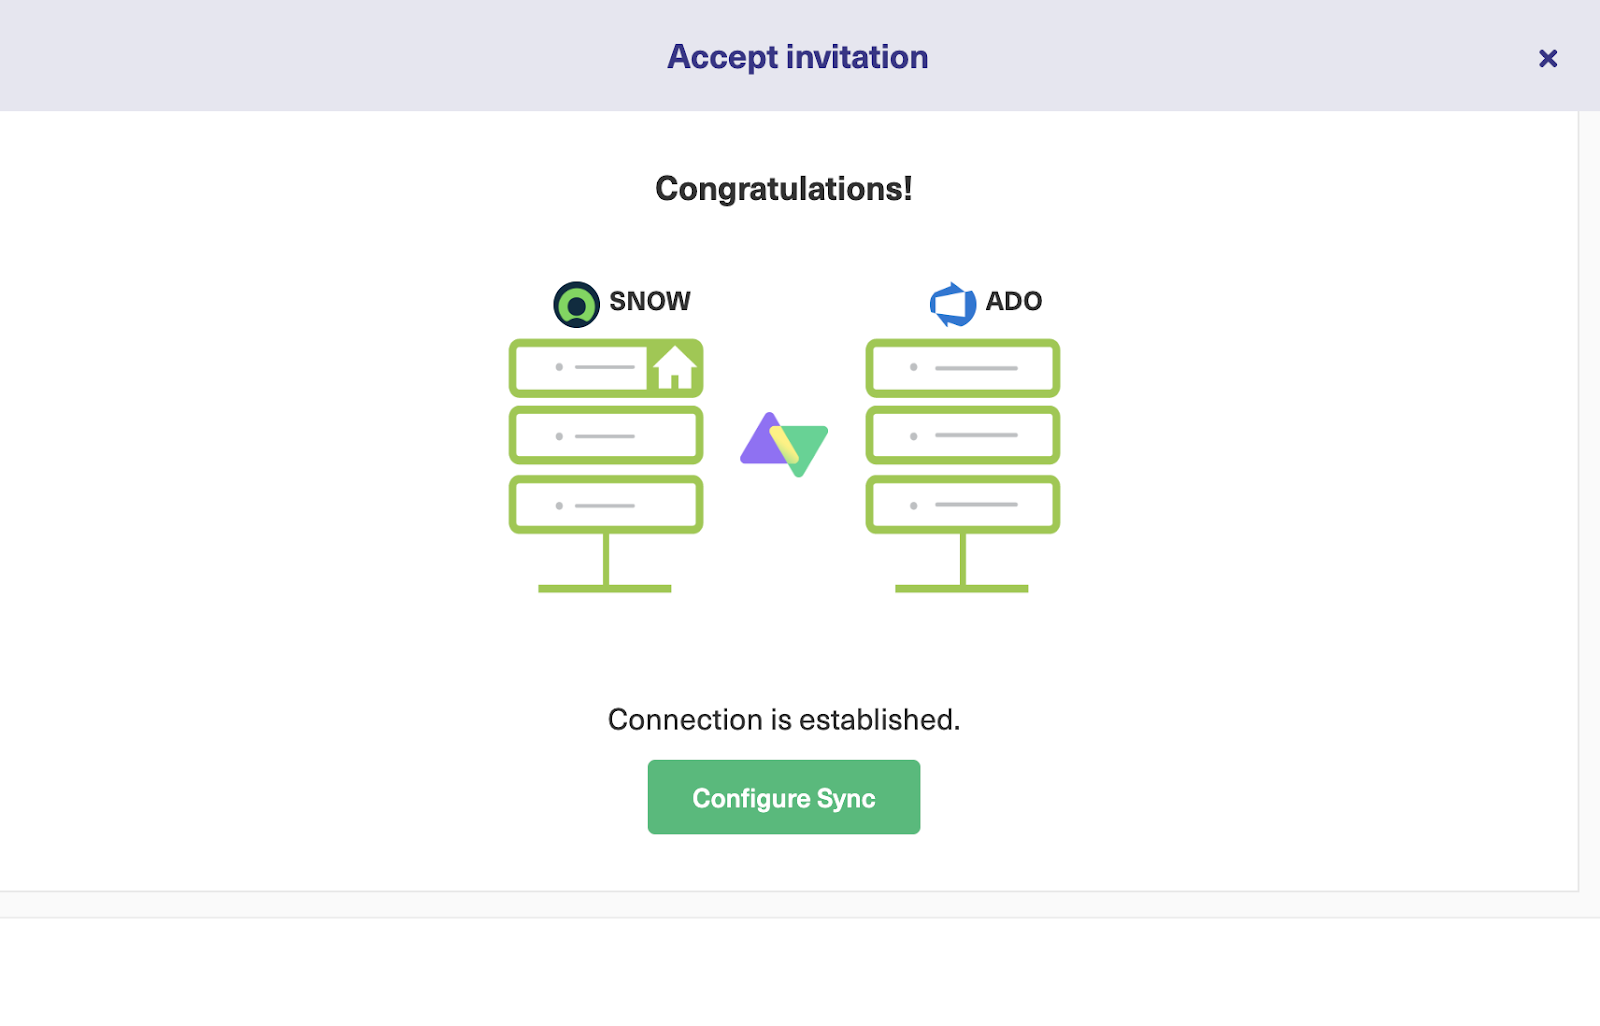
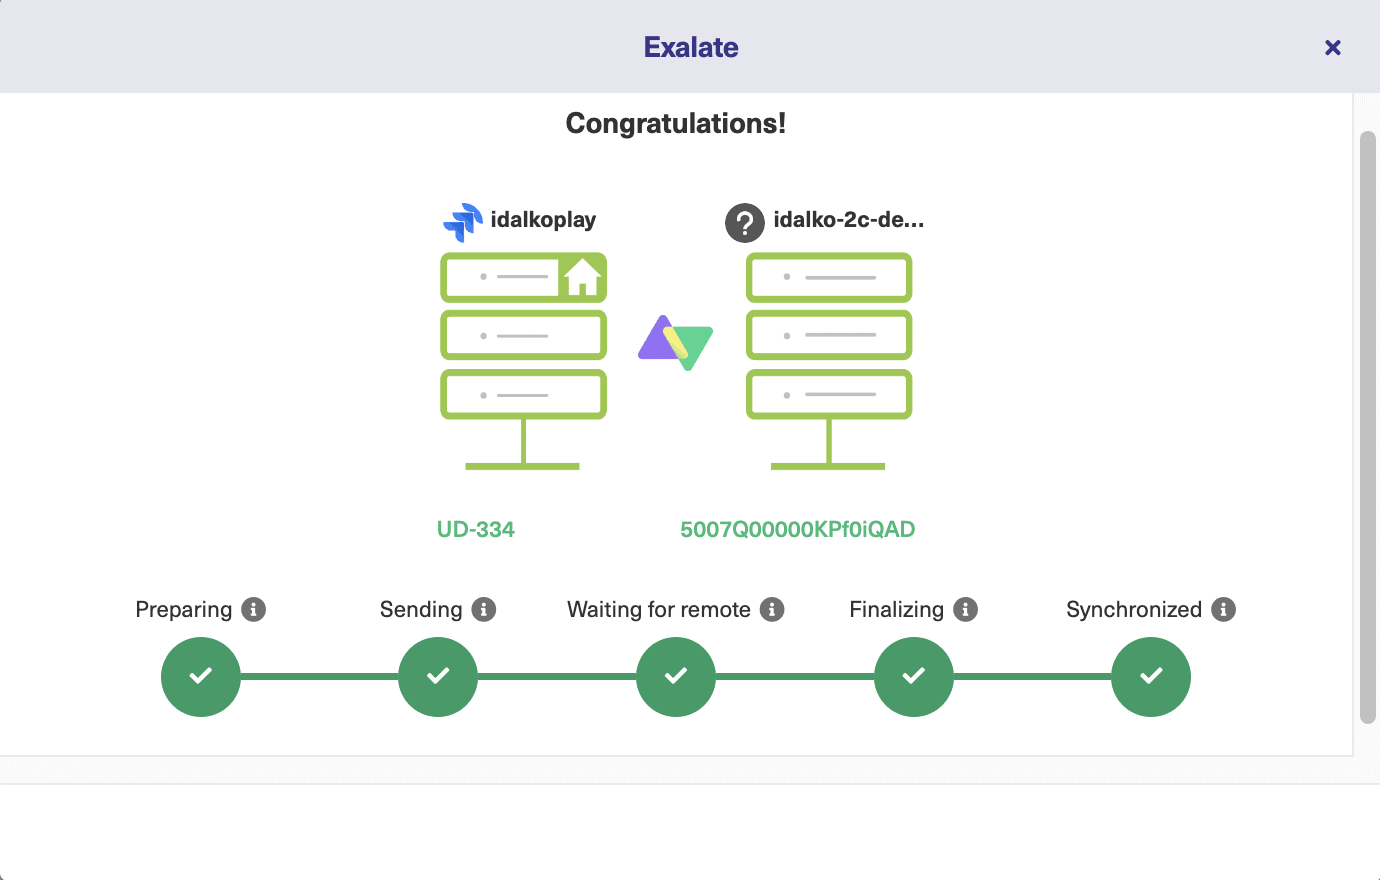
- The connection is set.
- If you’re looking for advanced integration mappings, choose the Script Mode instead.
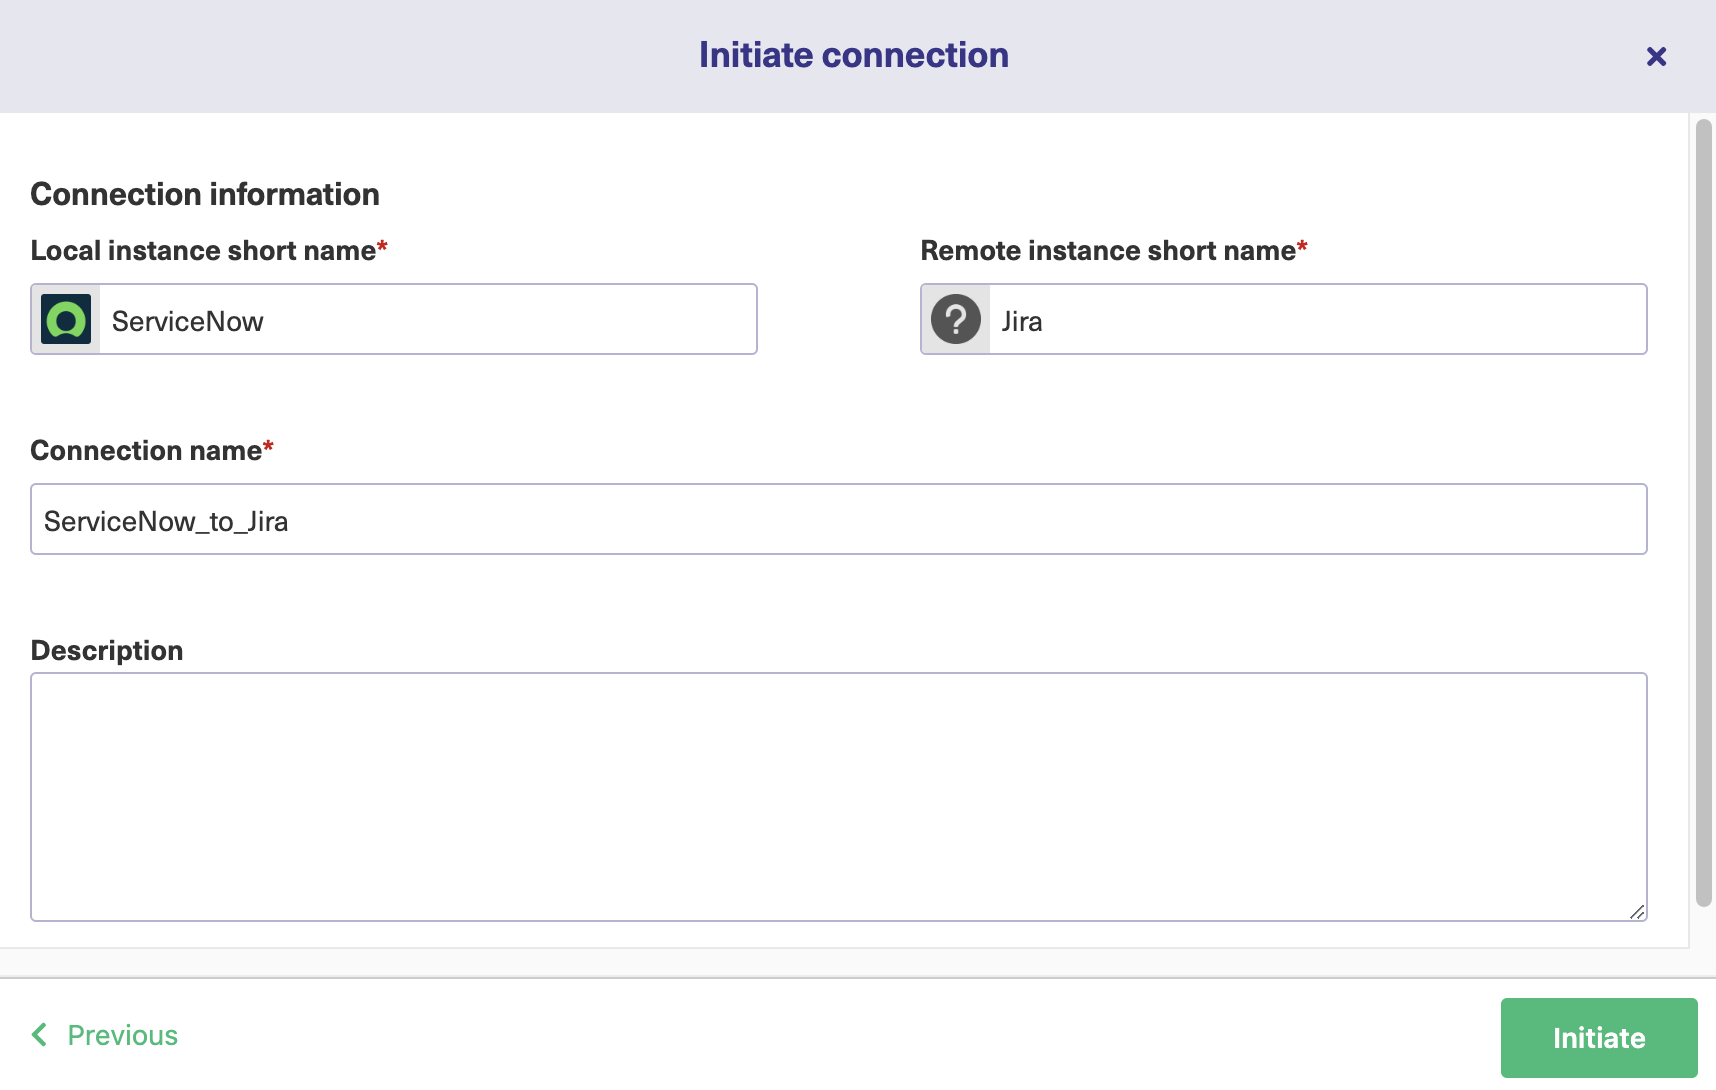
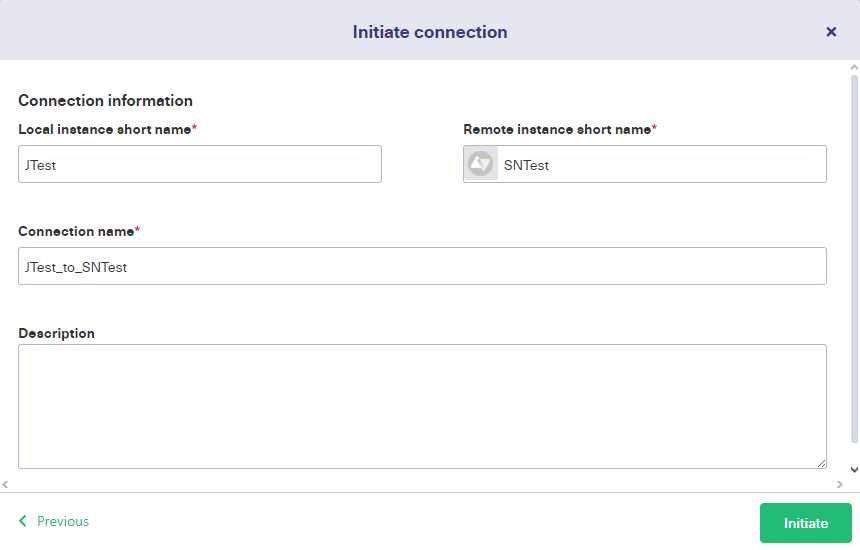
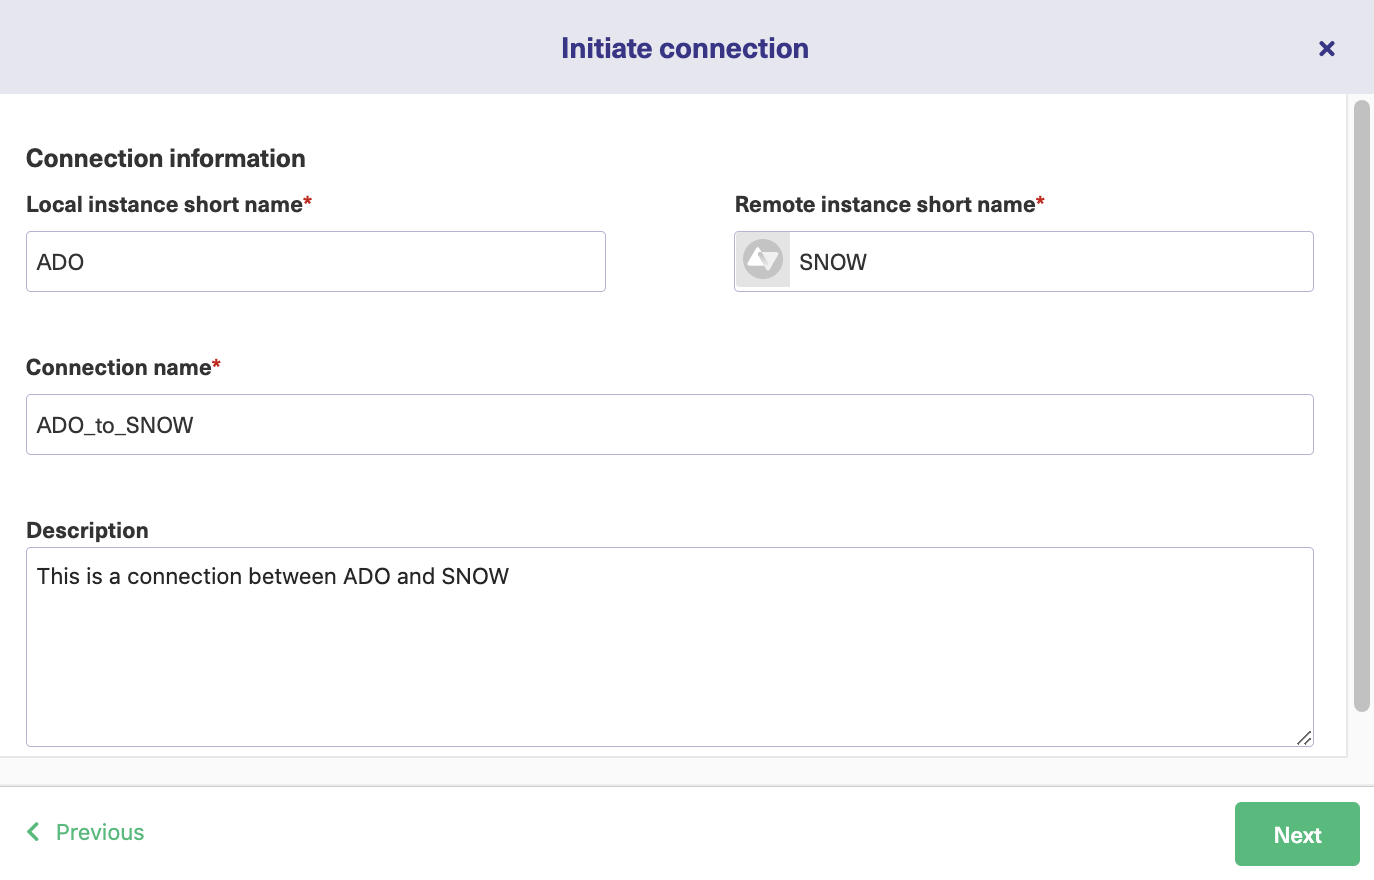
- Enter the name and description > click Initiate.
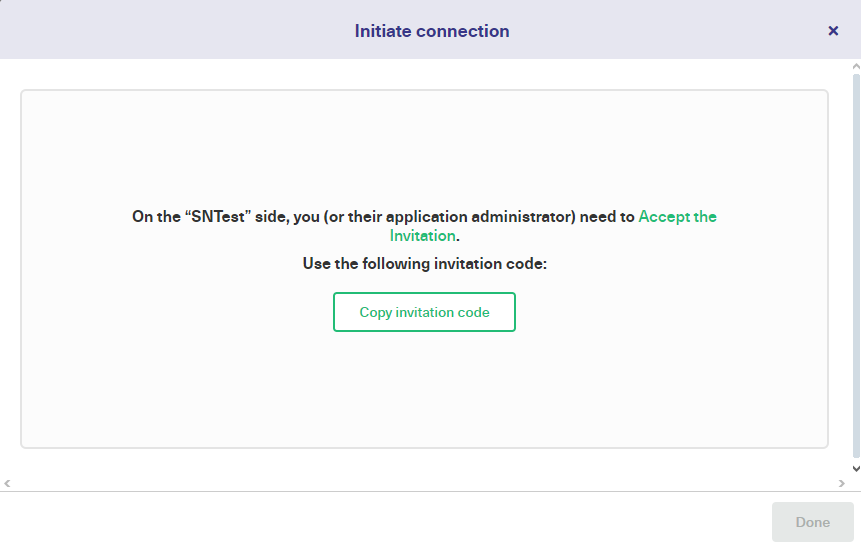
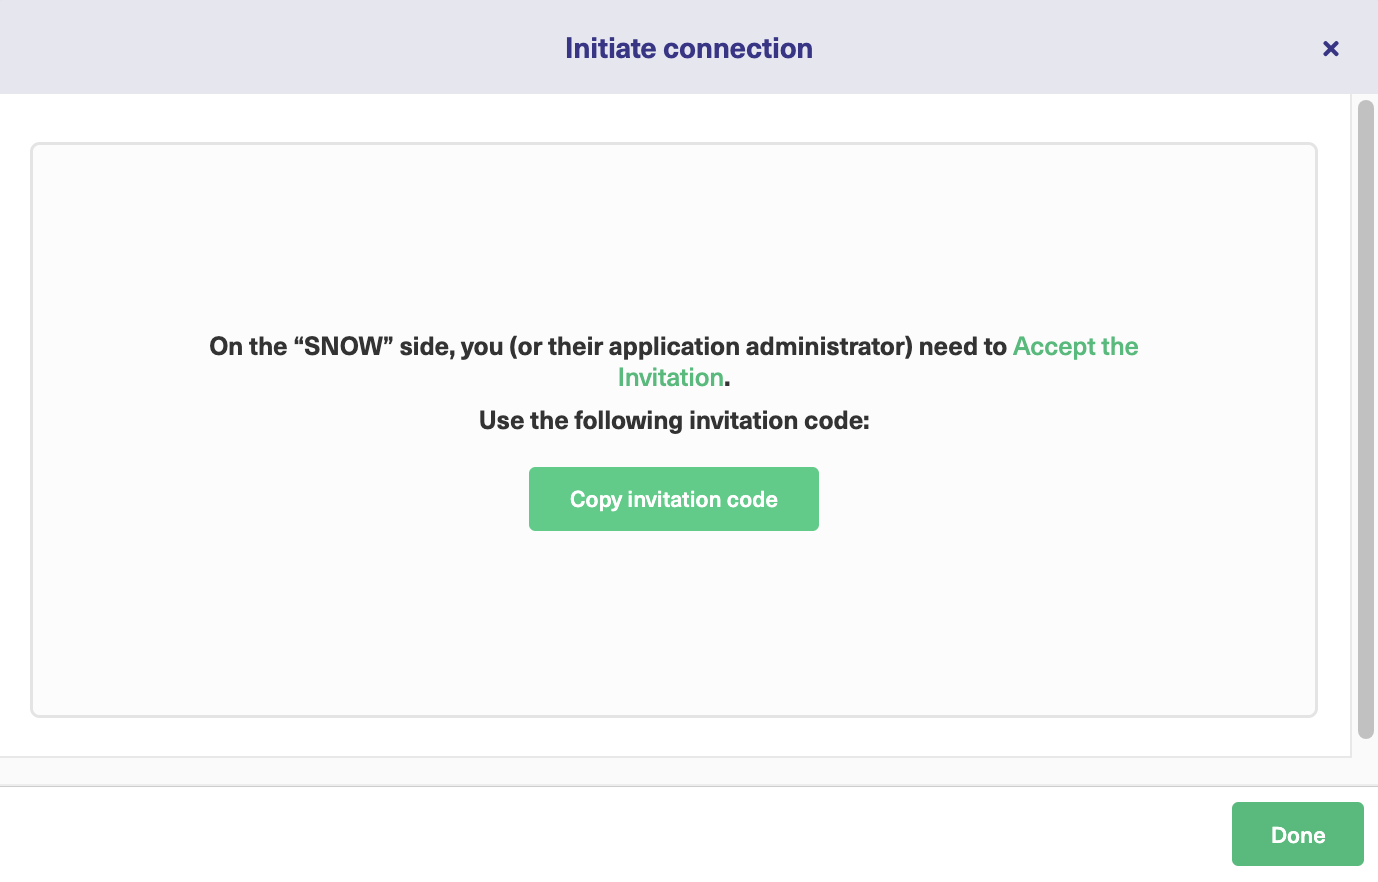
- Copy the invitation code to your clipboard.
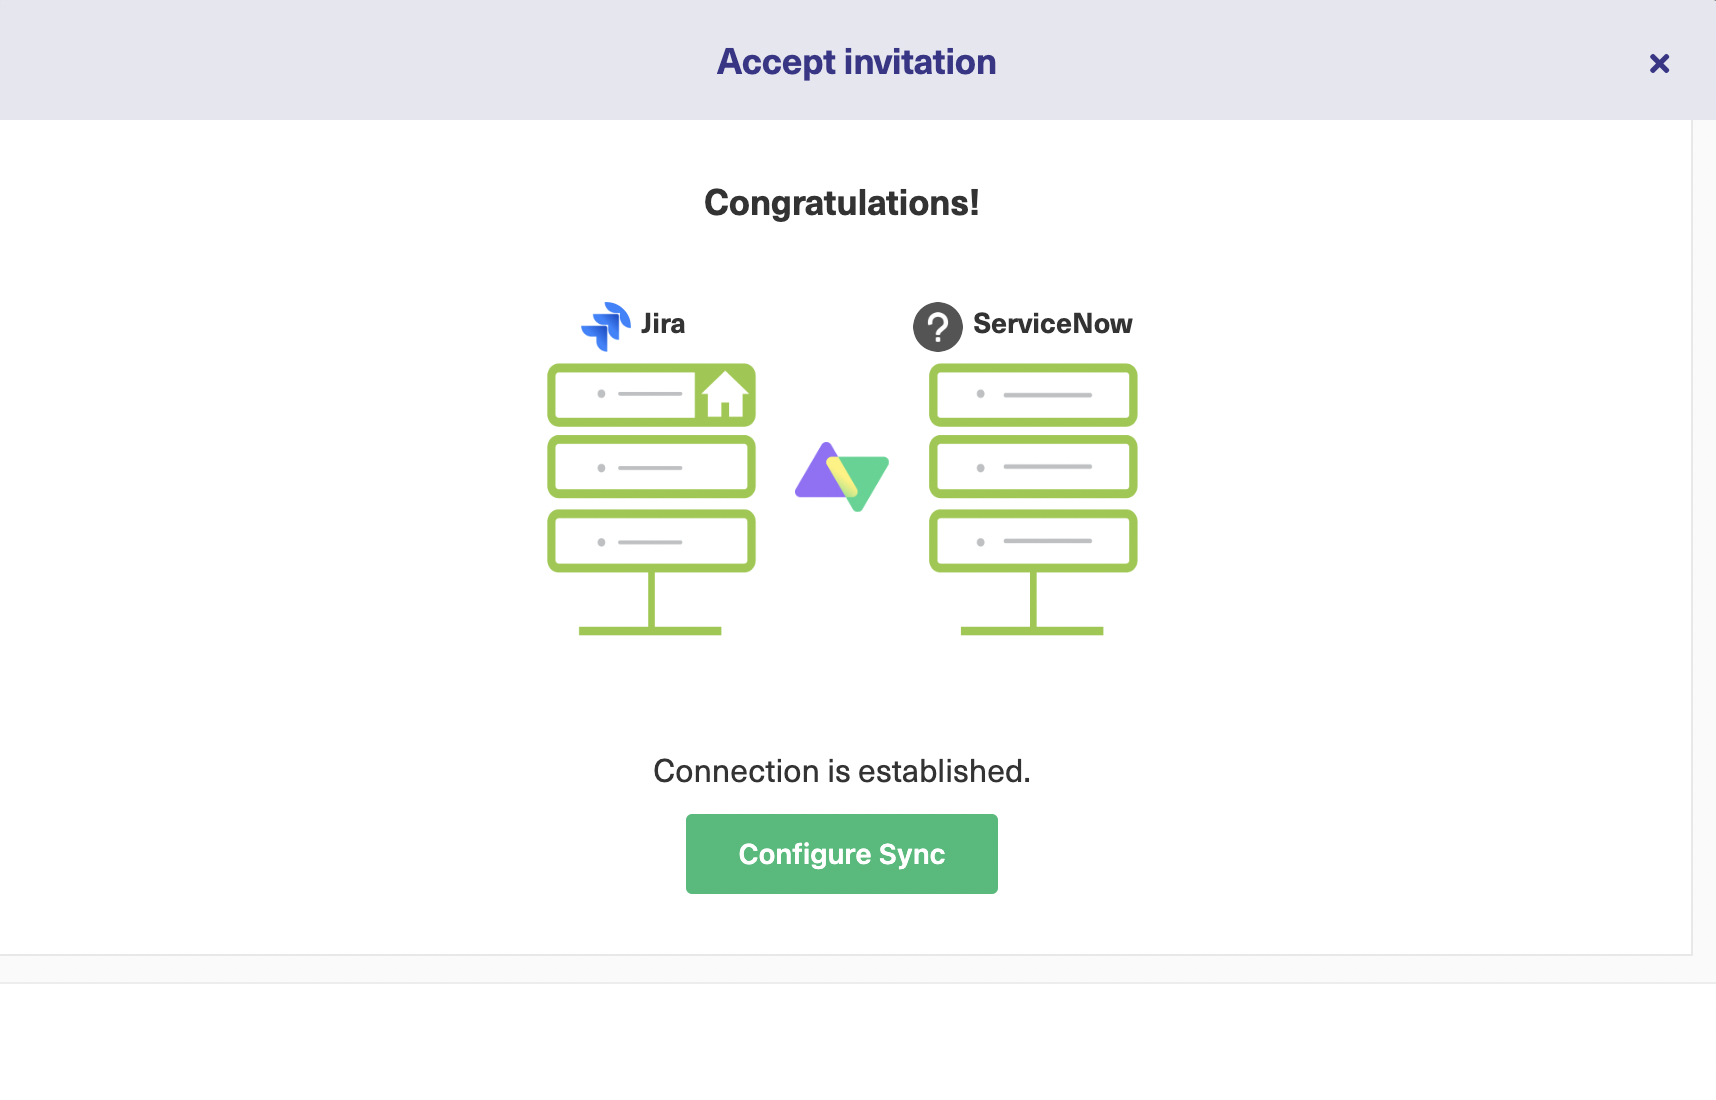
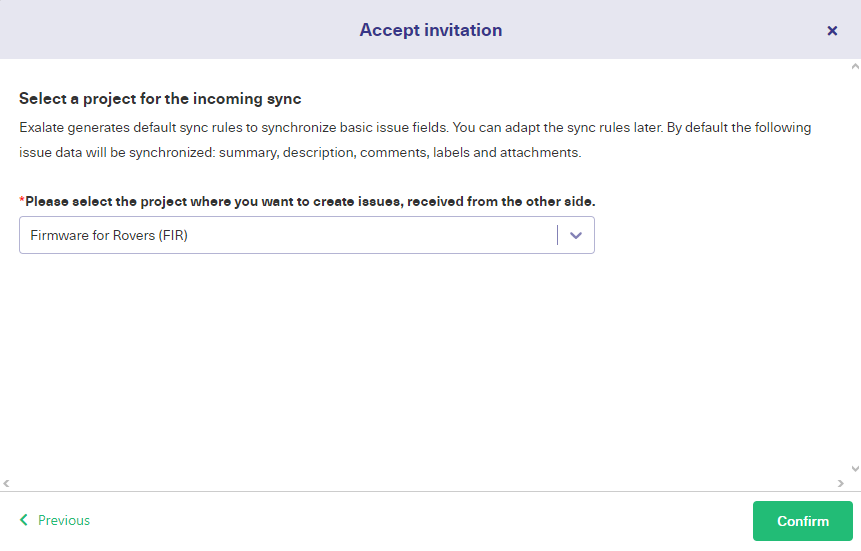
- Go to the remote side and click Accept invitation > Enter the activation code and click Next.
- Select the project and click Confirm.
- Go to the connection and click Edit Connection.
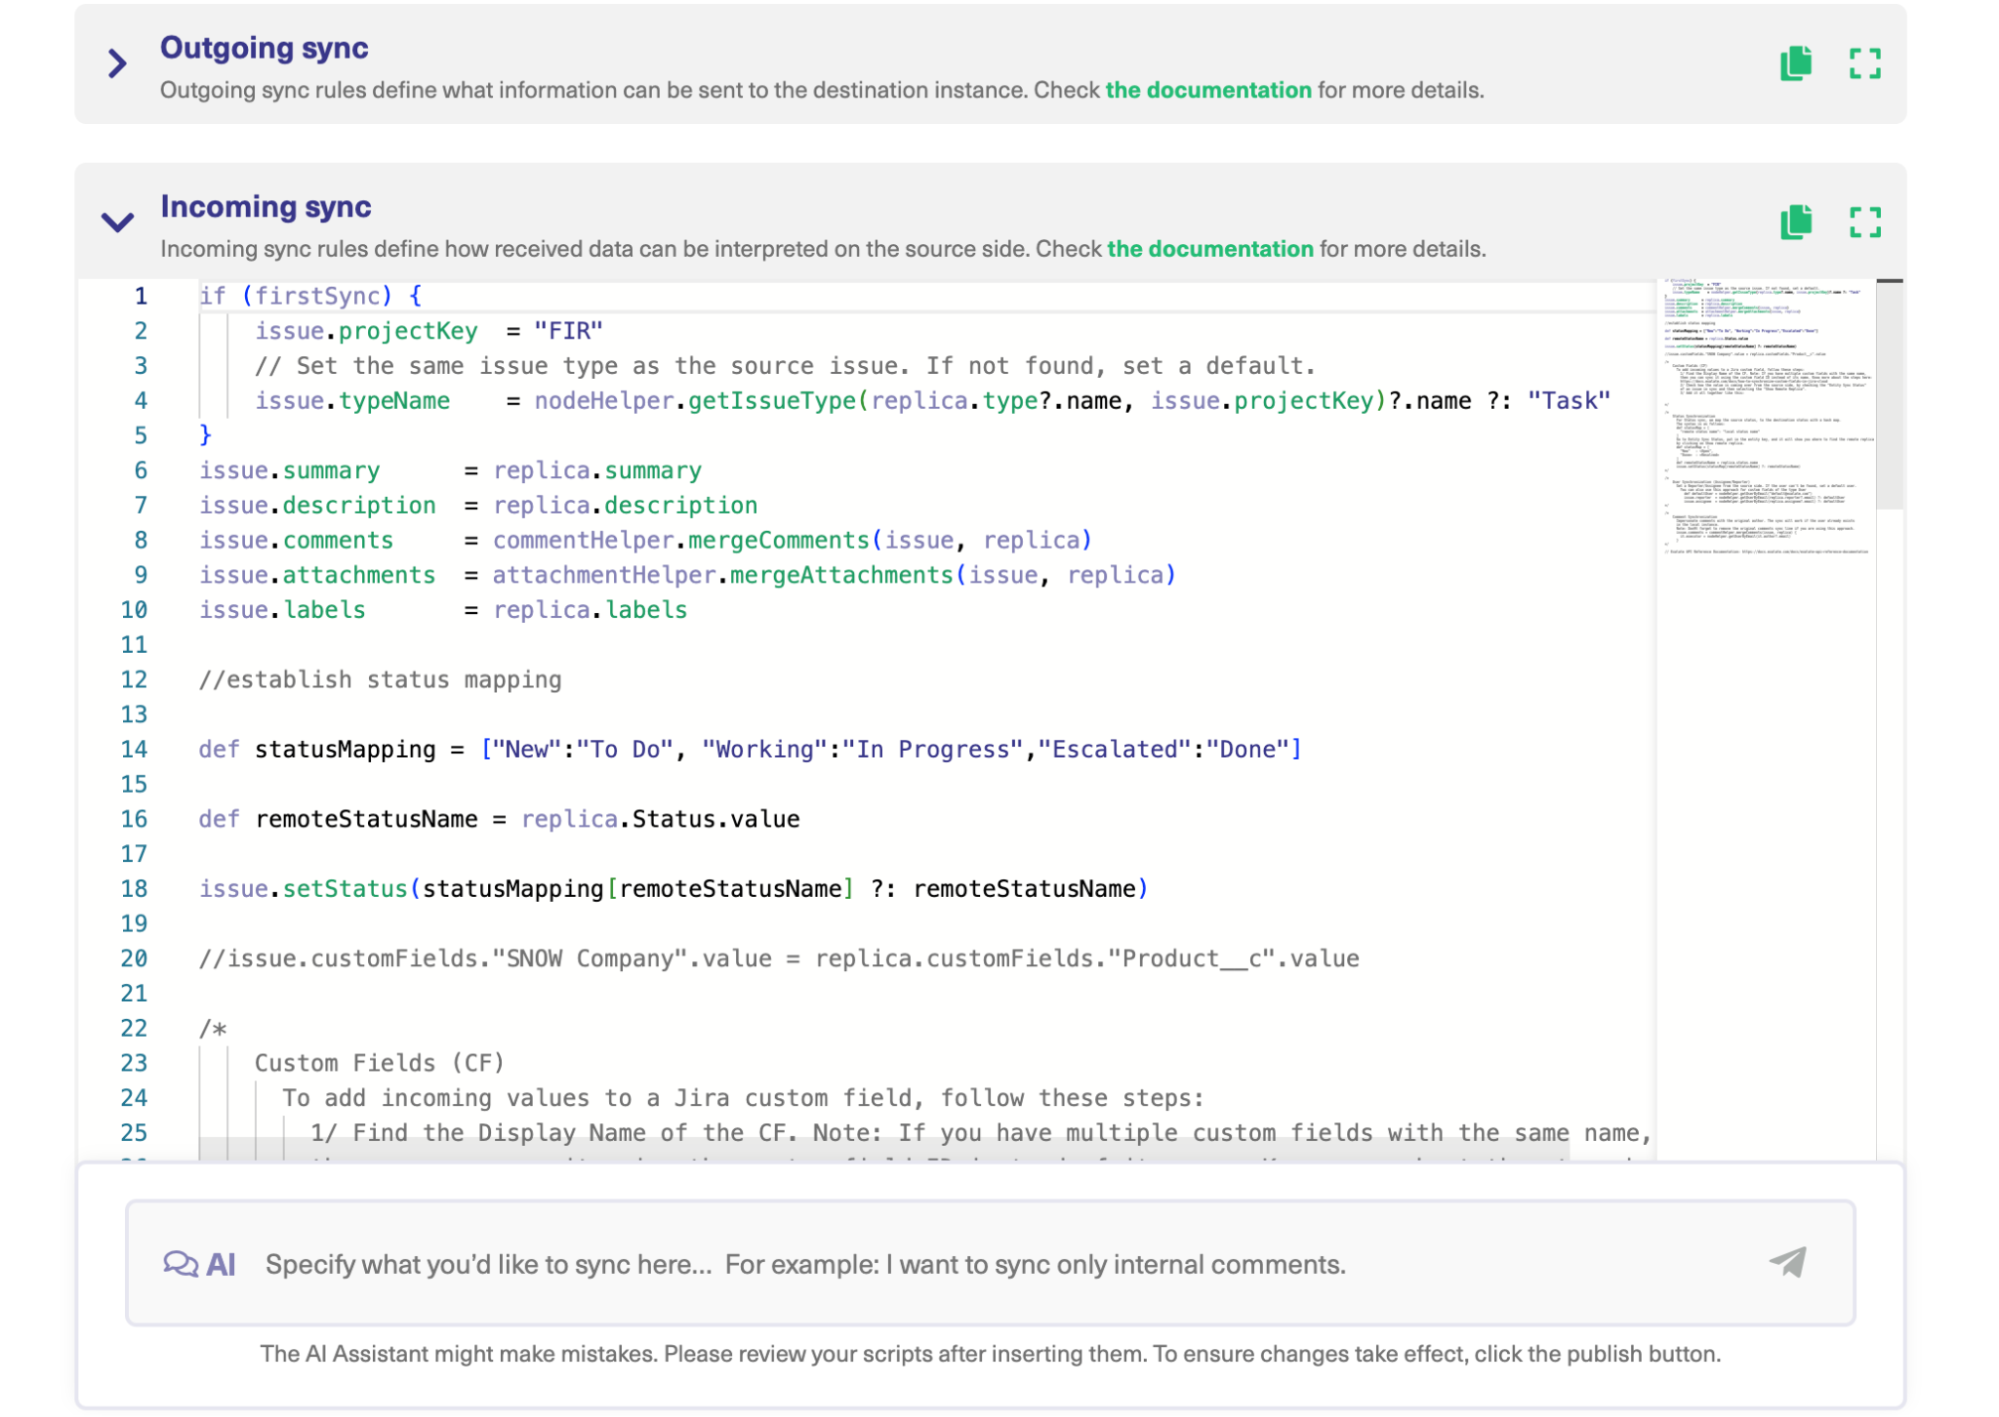
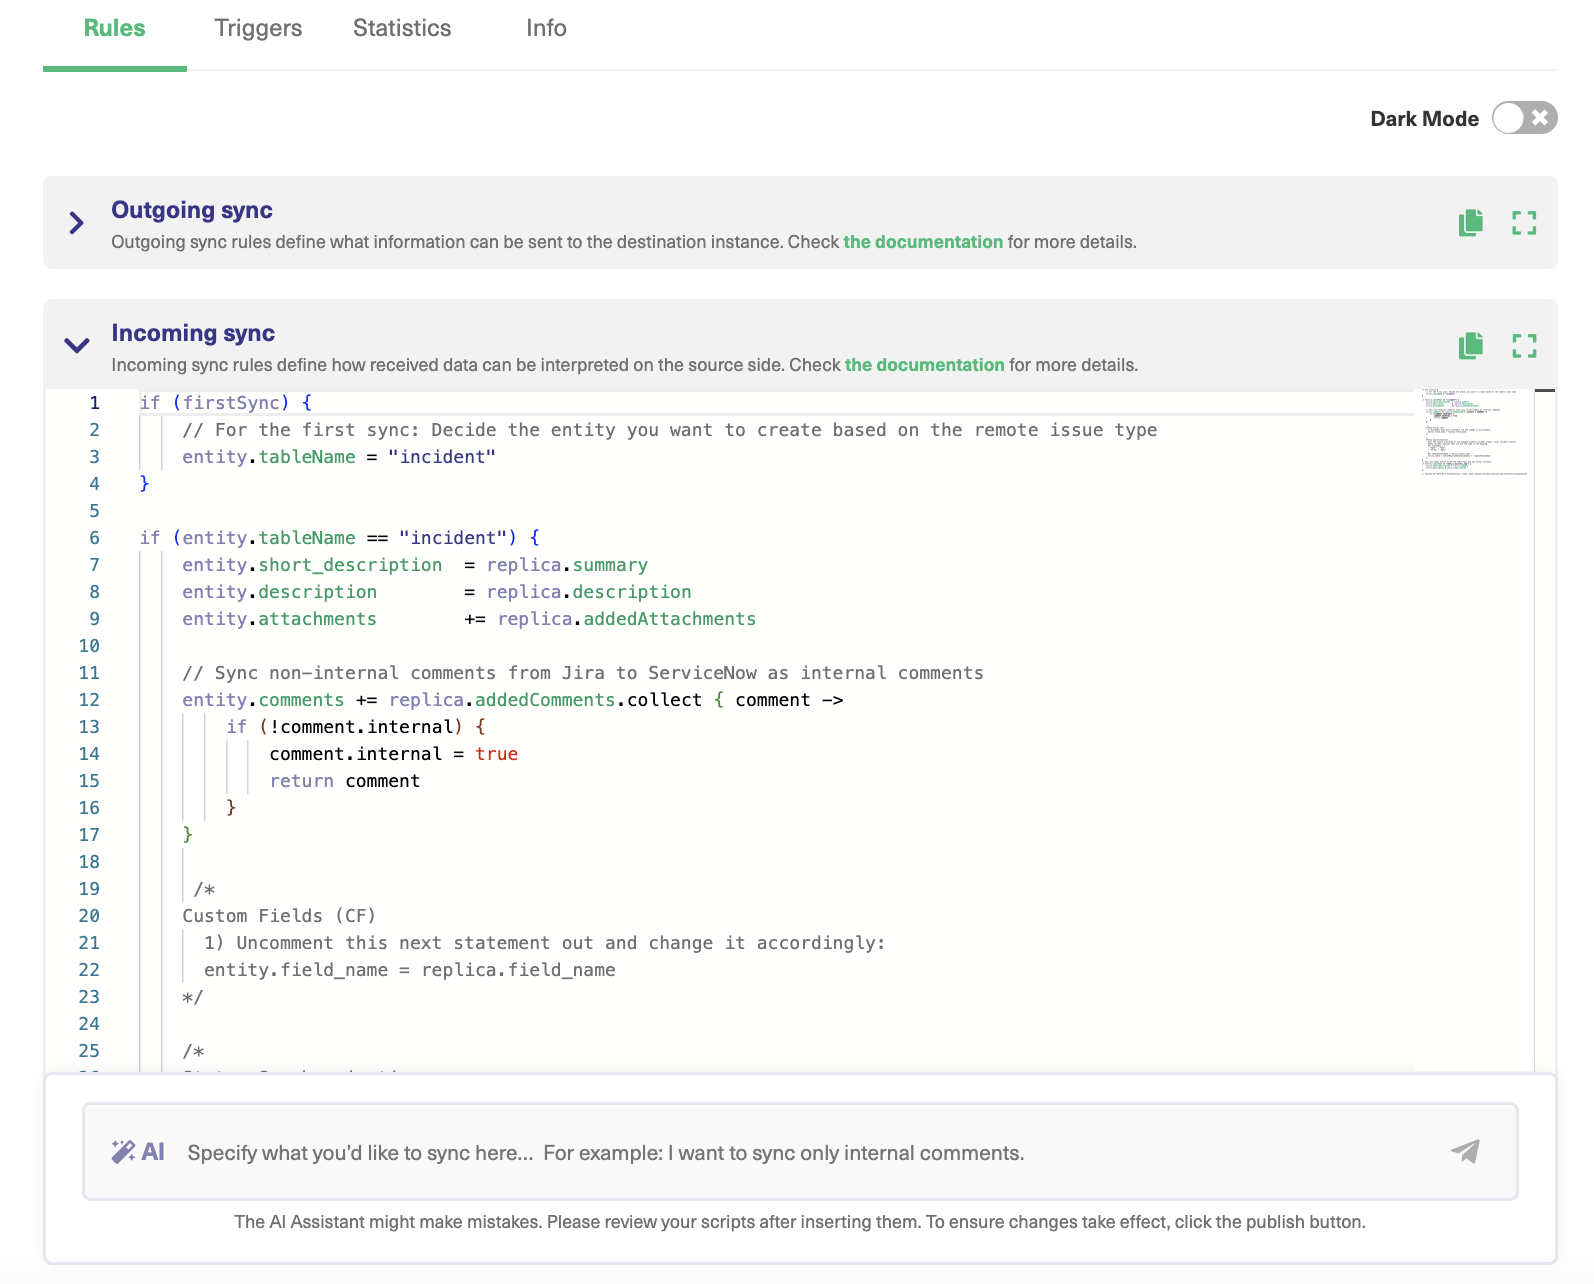
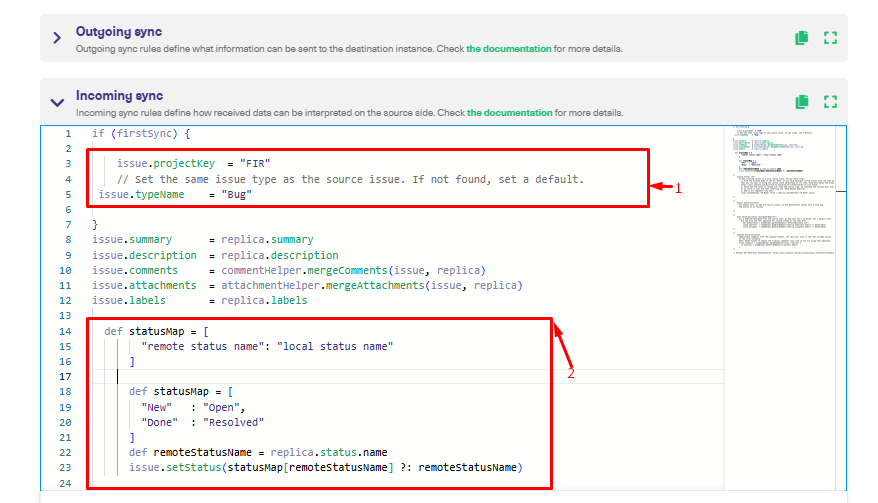
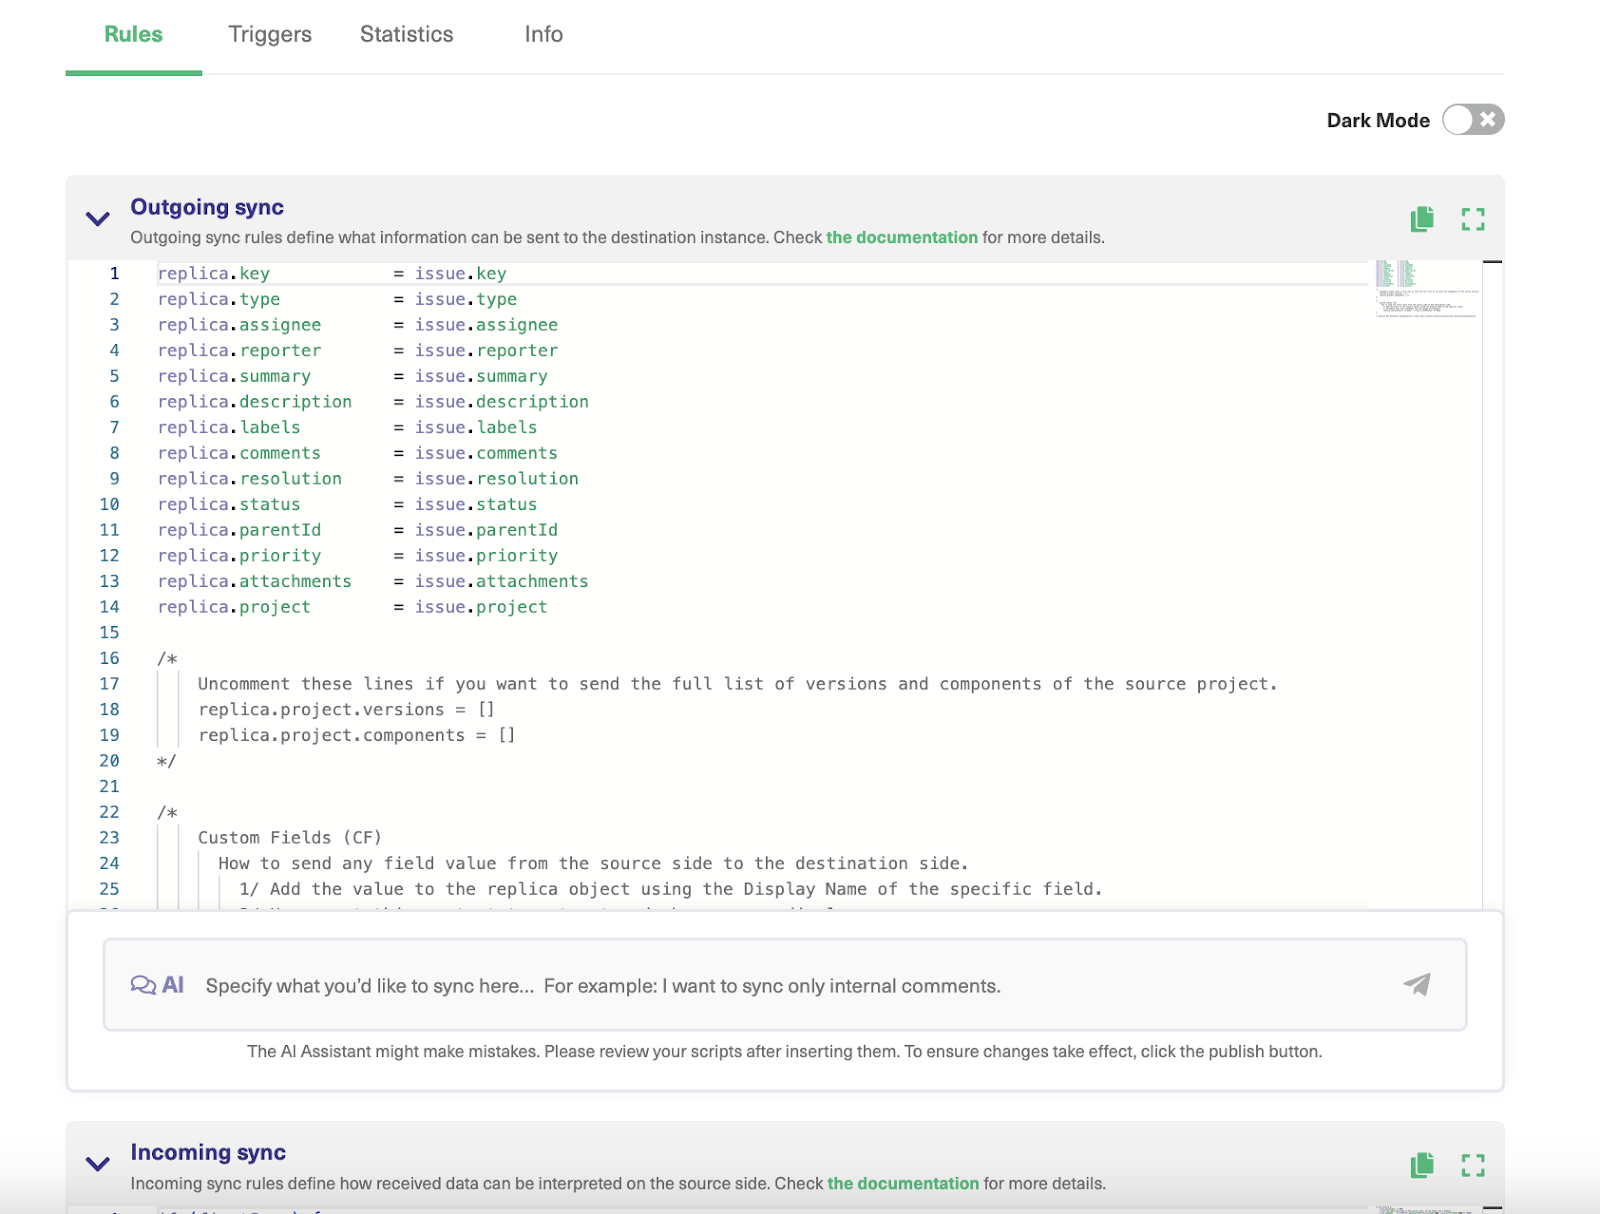
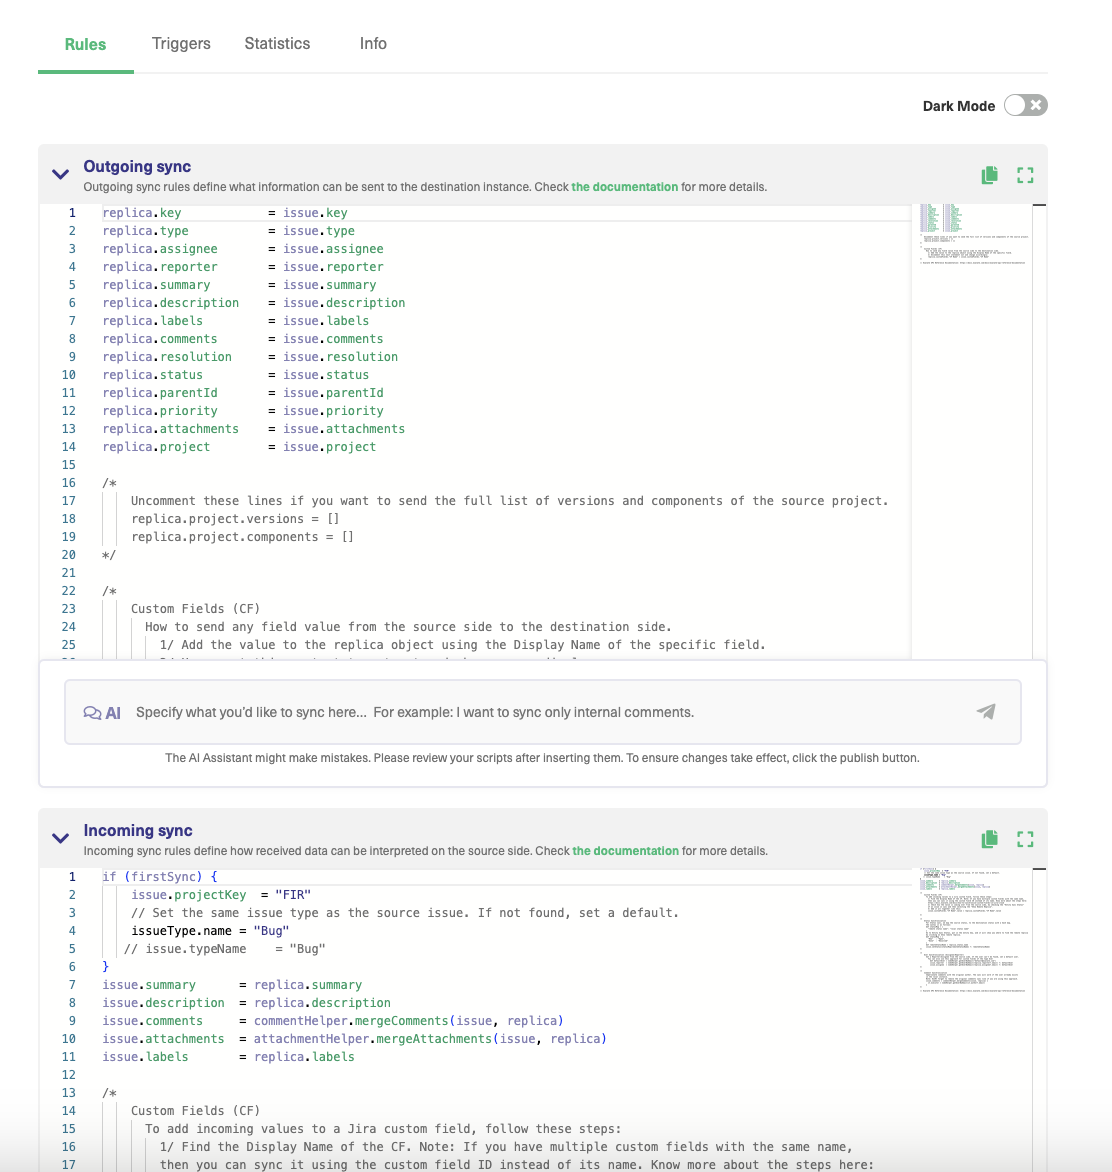
- In the Outgoing sync text field, enter the script to control the fields and entities you want to share.
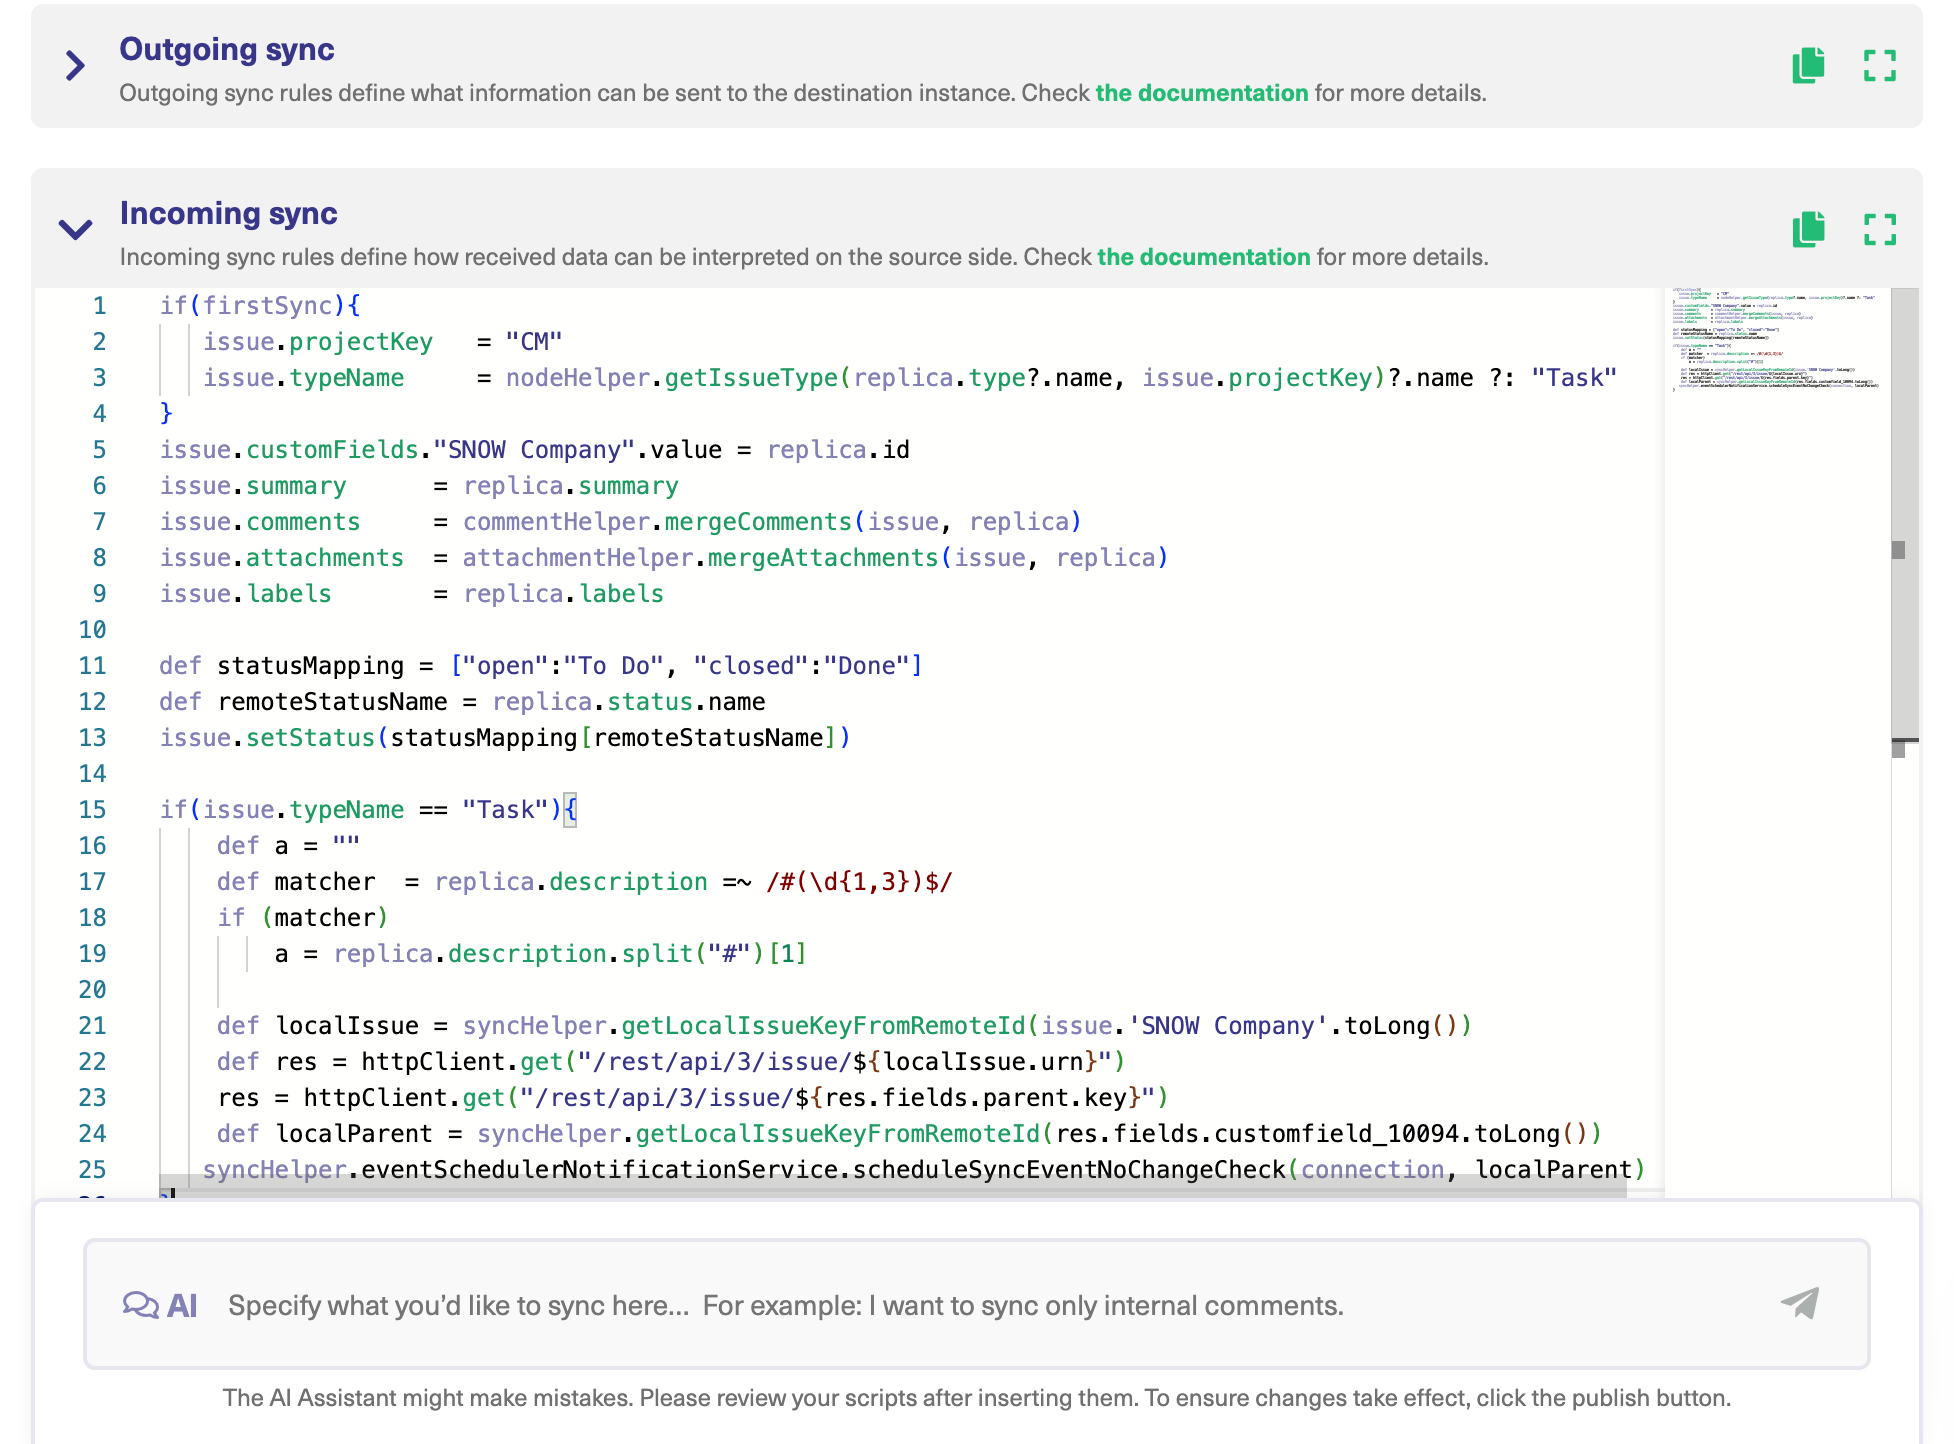
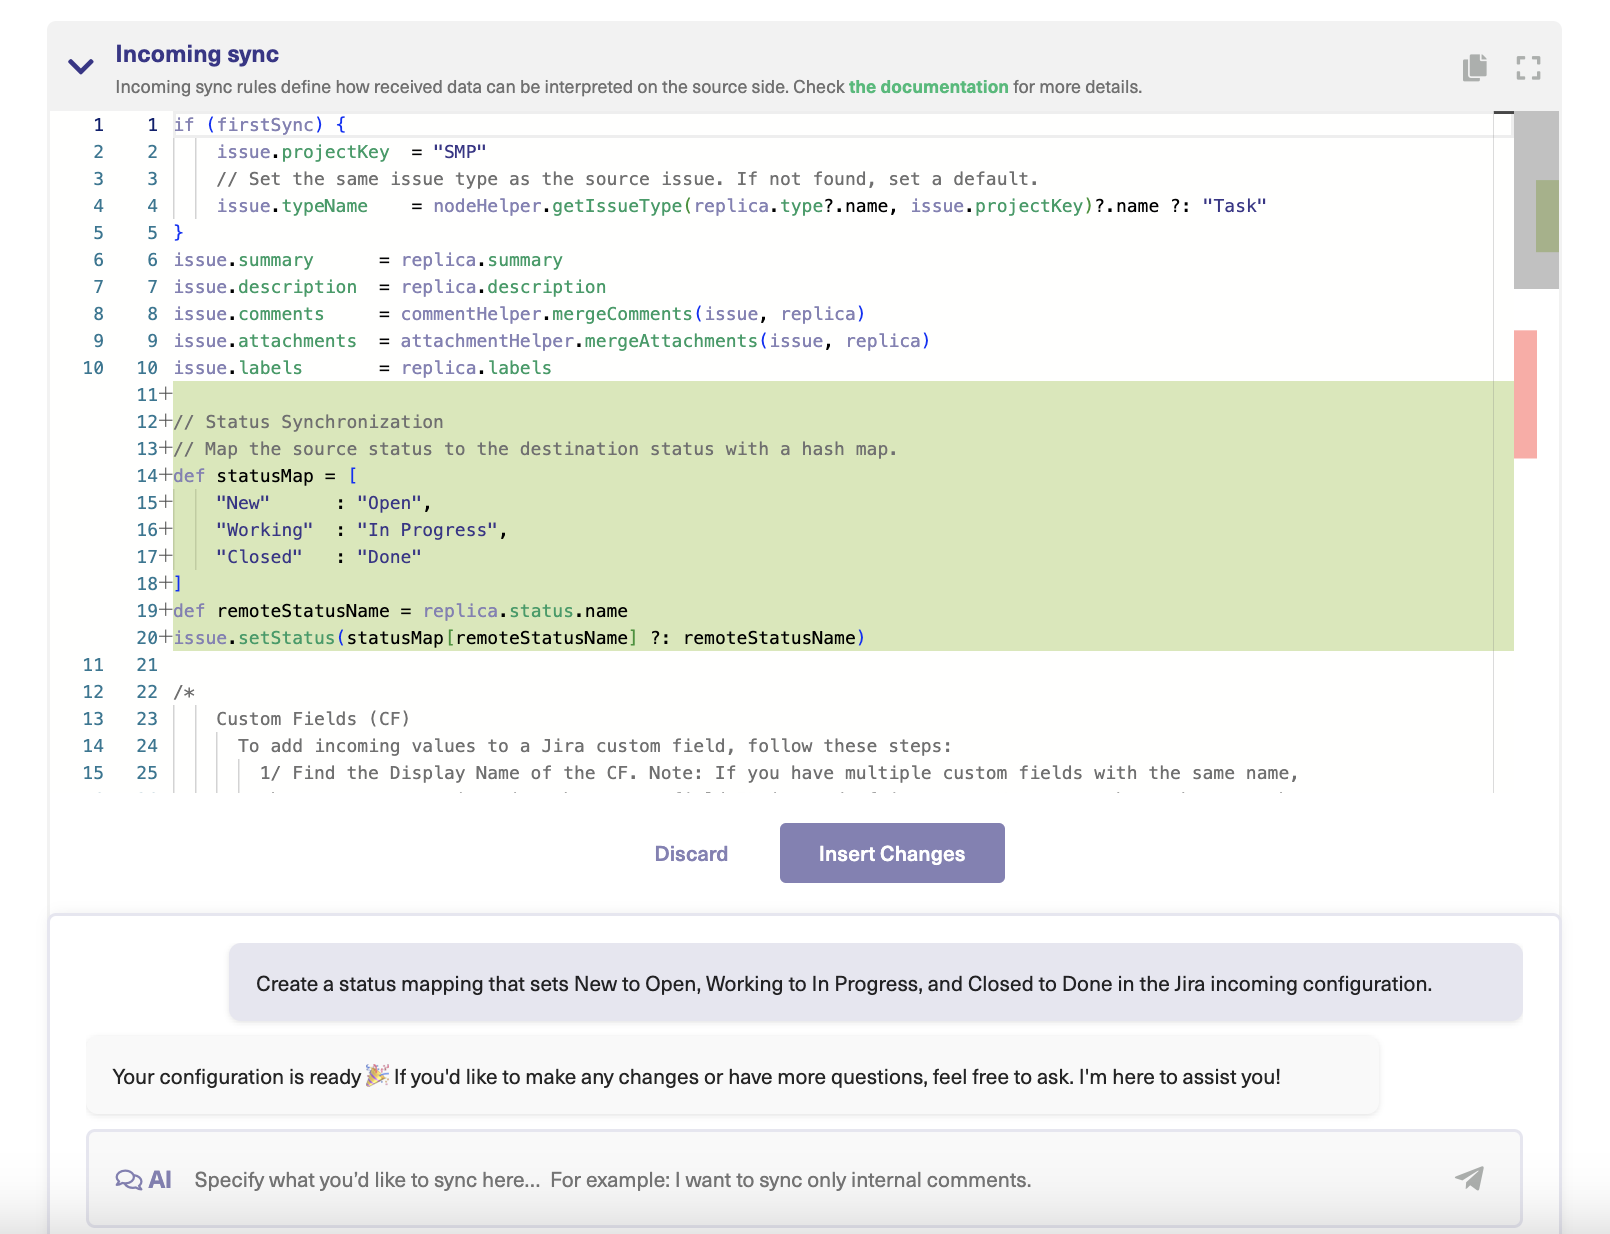
- In the Incoming sync text field, enter the script to control the fields and entities you want to receive.
- Click Publish to save the changes and implement the sync rules.
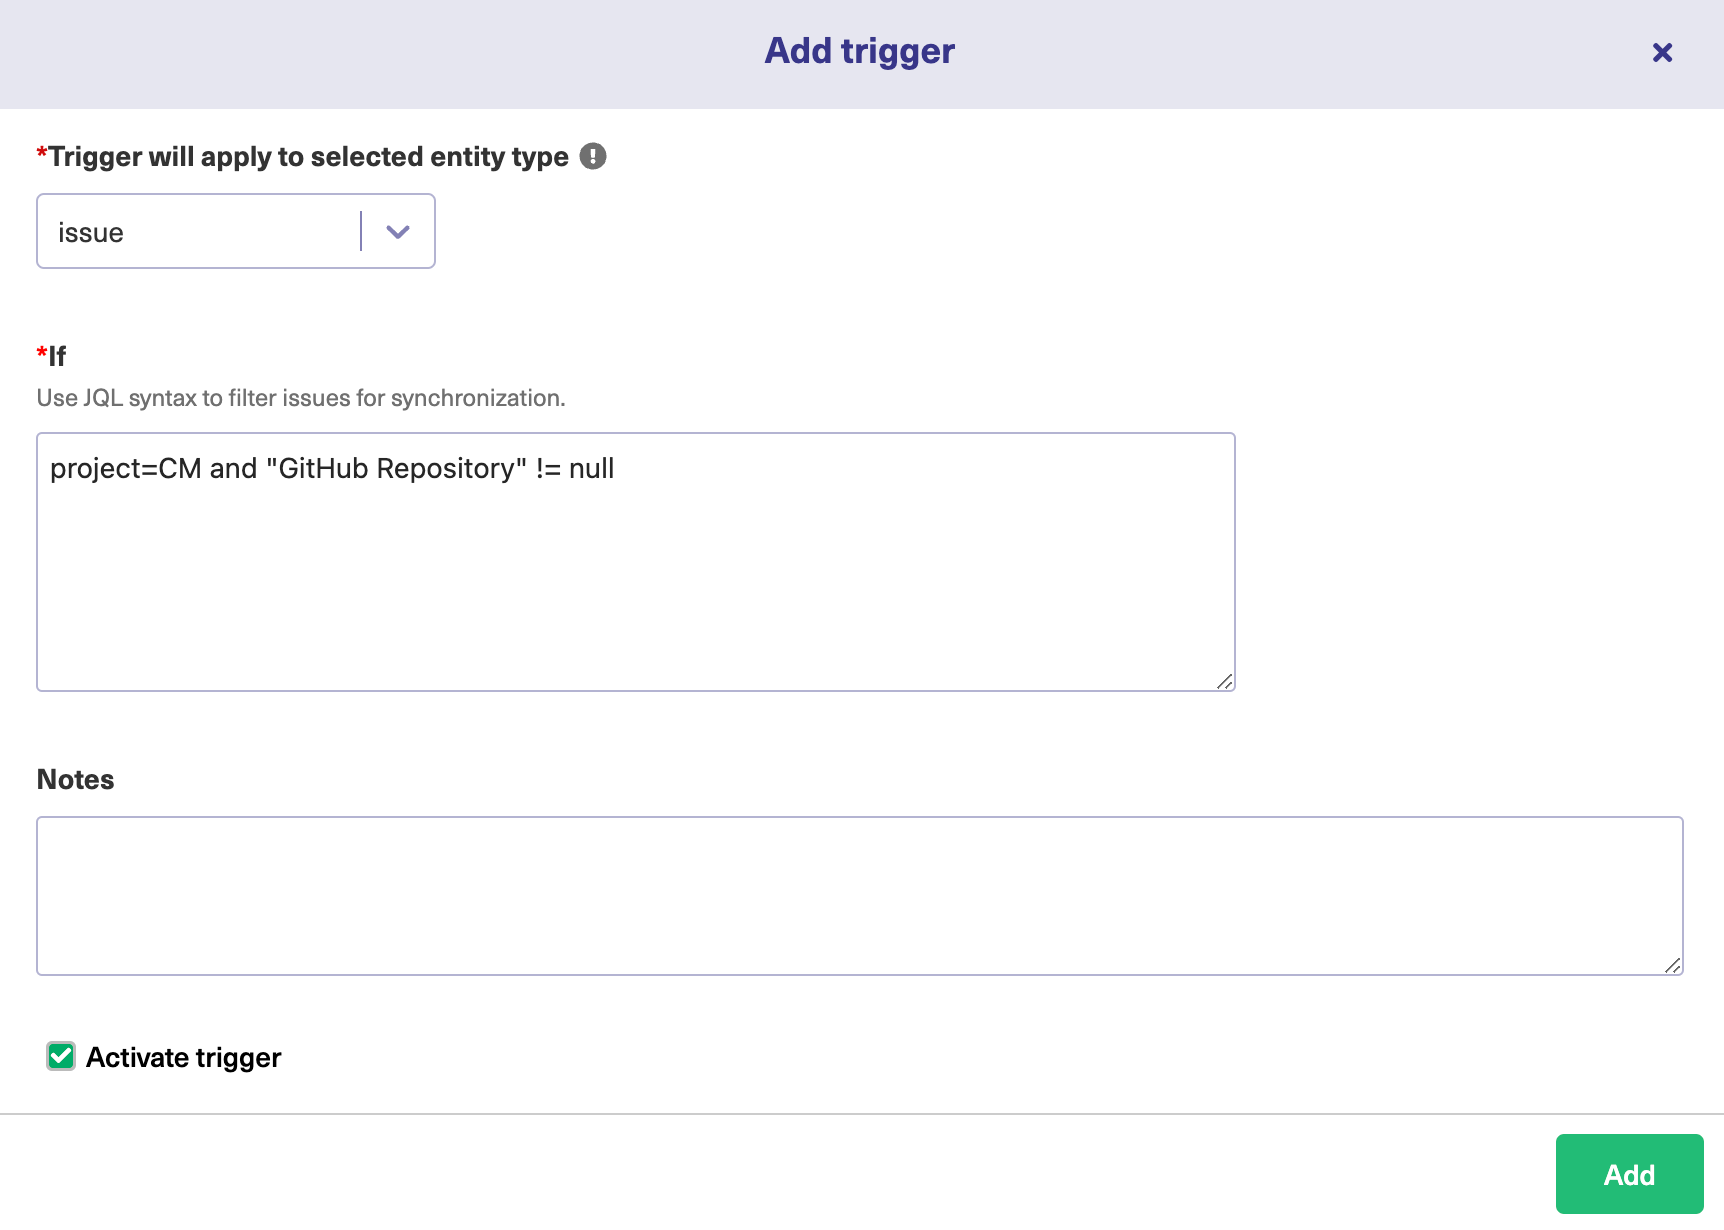
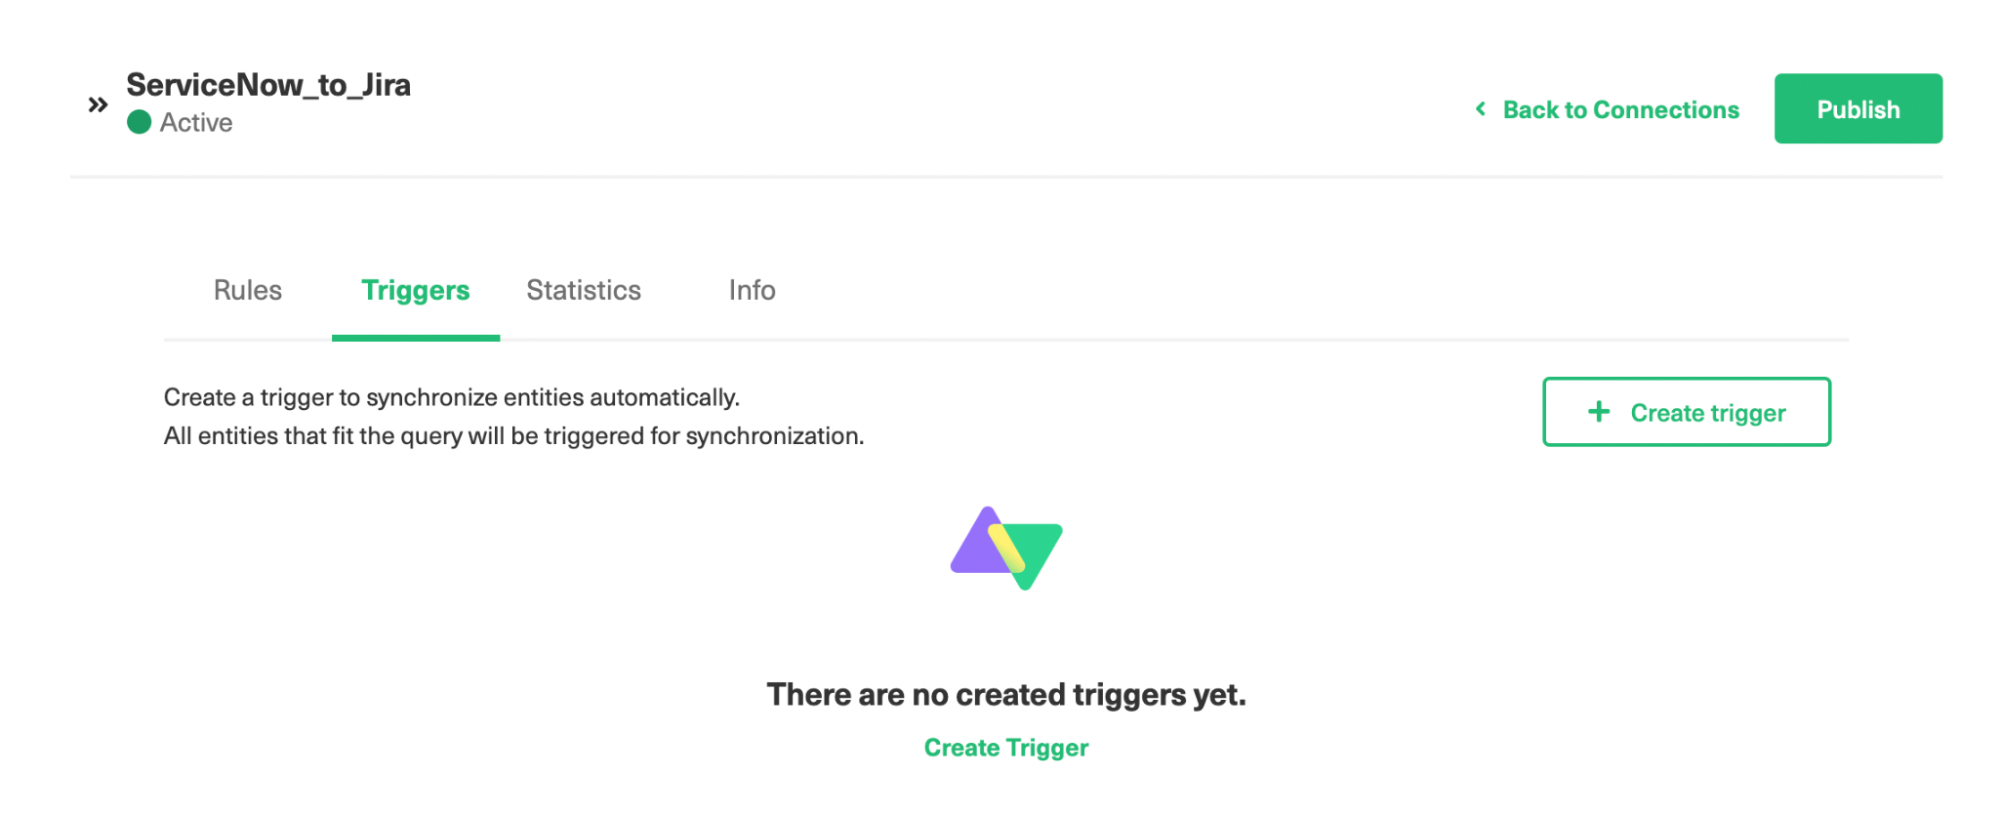
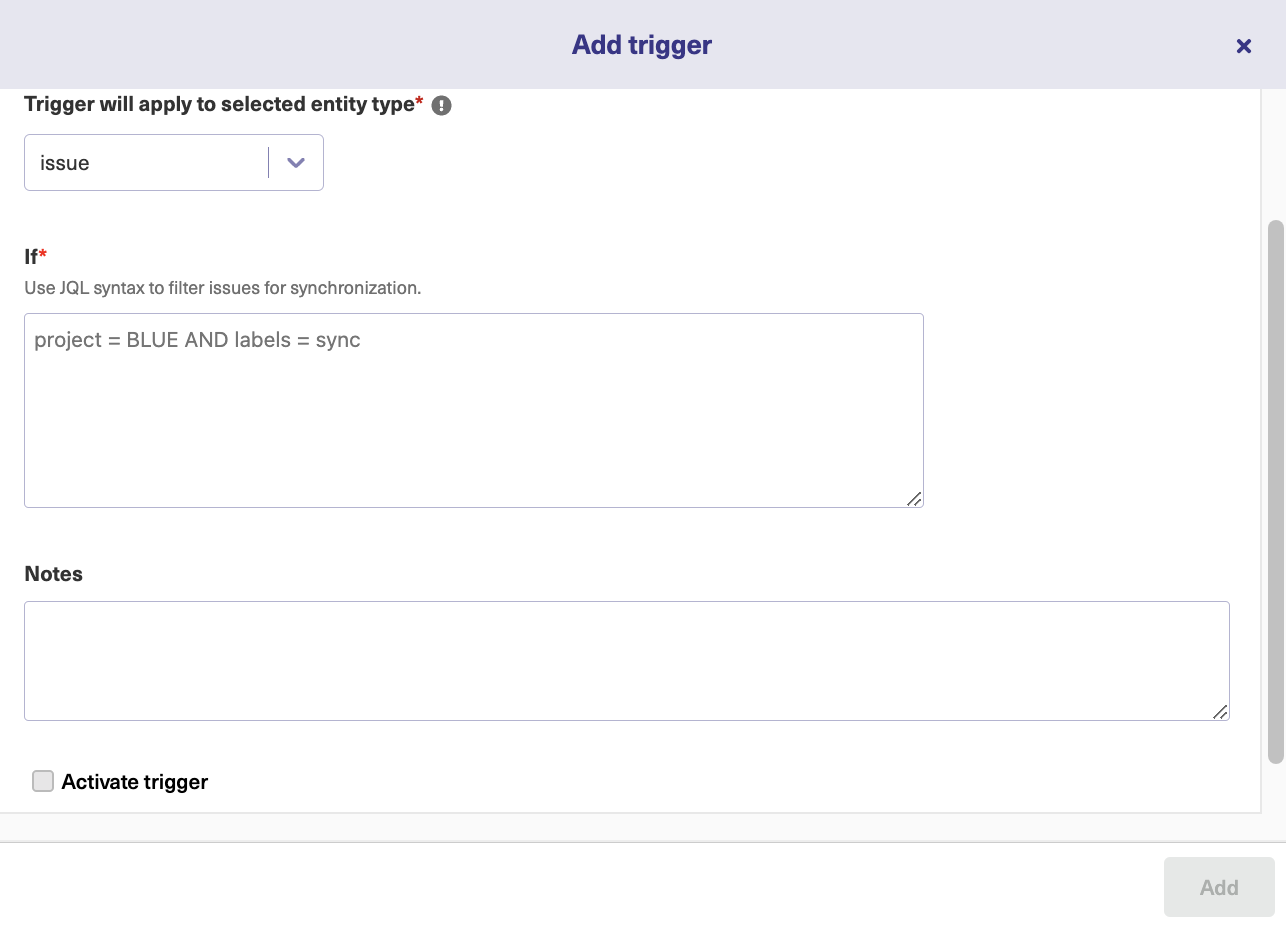
- Go to the Triggers section.
- Click Create trigger.
- Choose the entity type > Enter the rules or search syntax and click Add.
- Your connection and trigger are both set. The connector will now start working automatically.
How Exalate Uses AI to Improve Jira Service Management to Salesforce Connection
Exalate relies on AI-powered features to simplify connections between Jira Service Management and Salesforce.
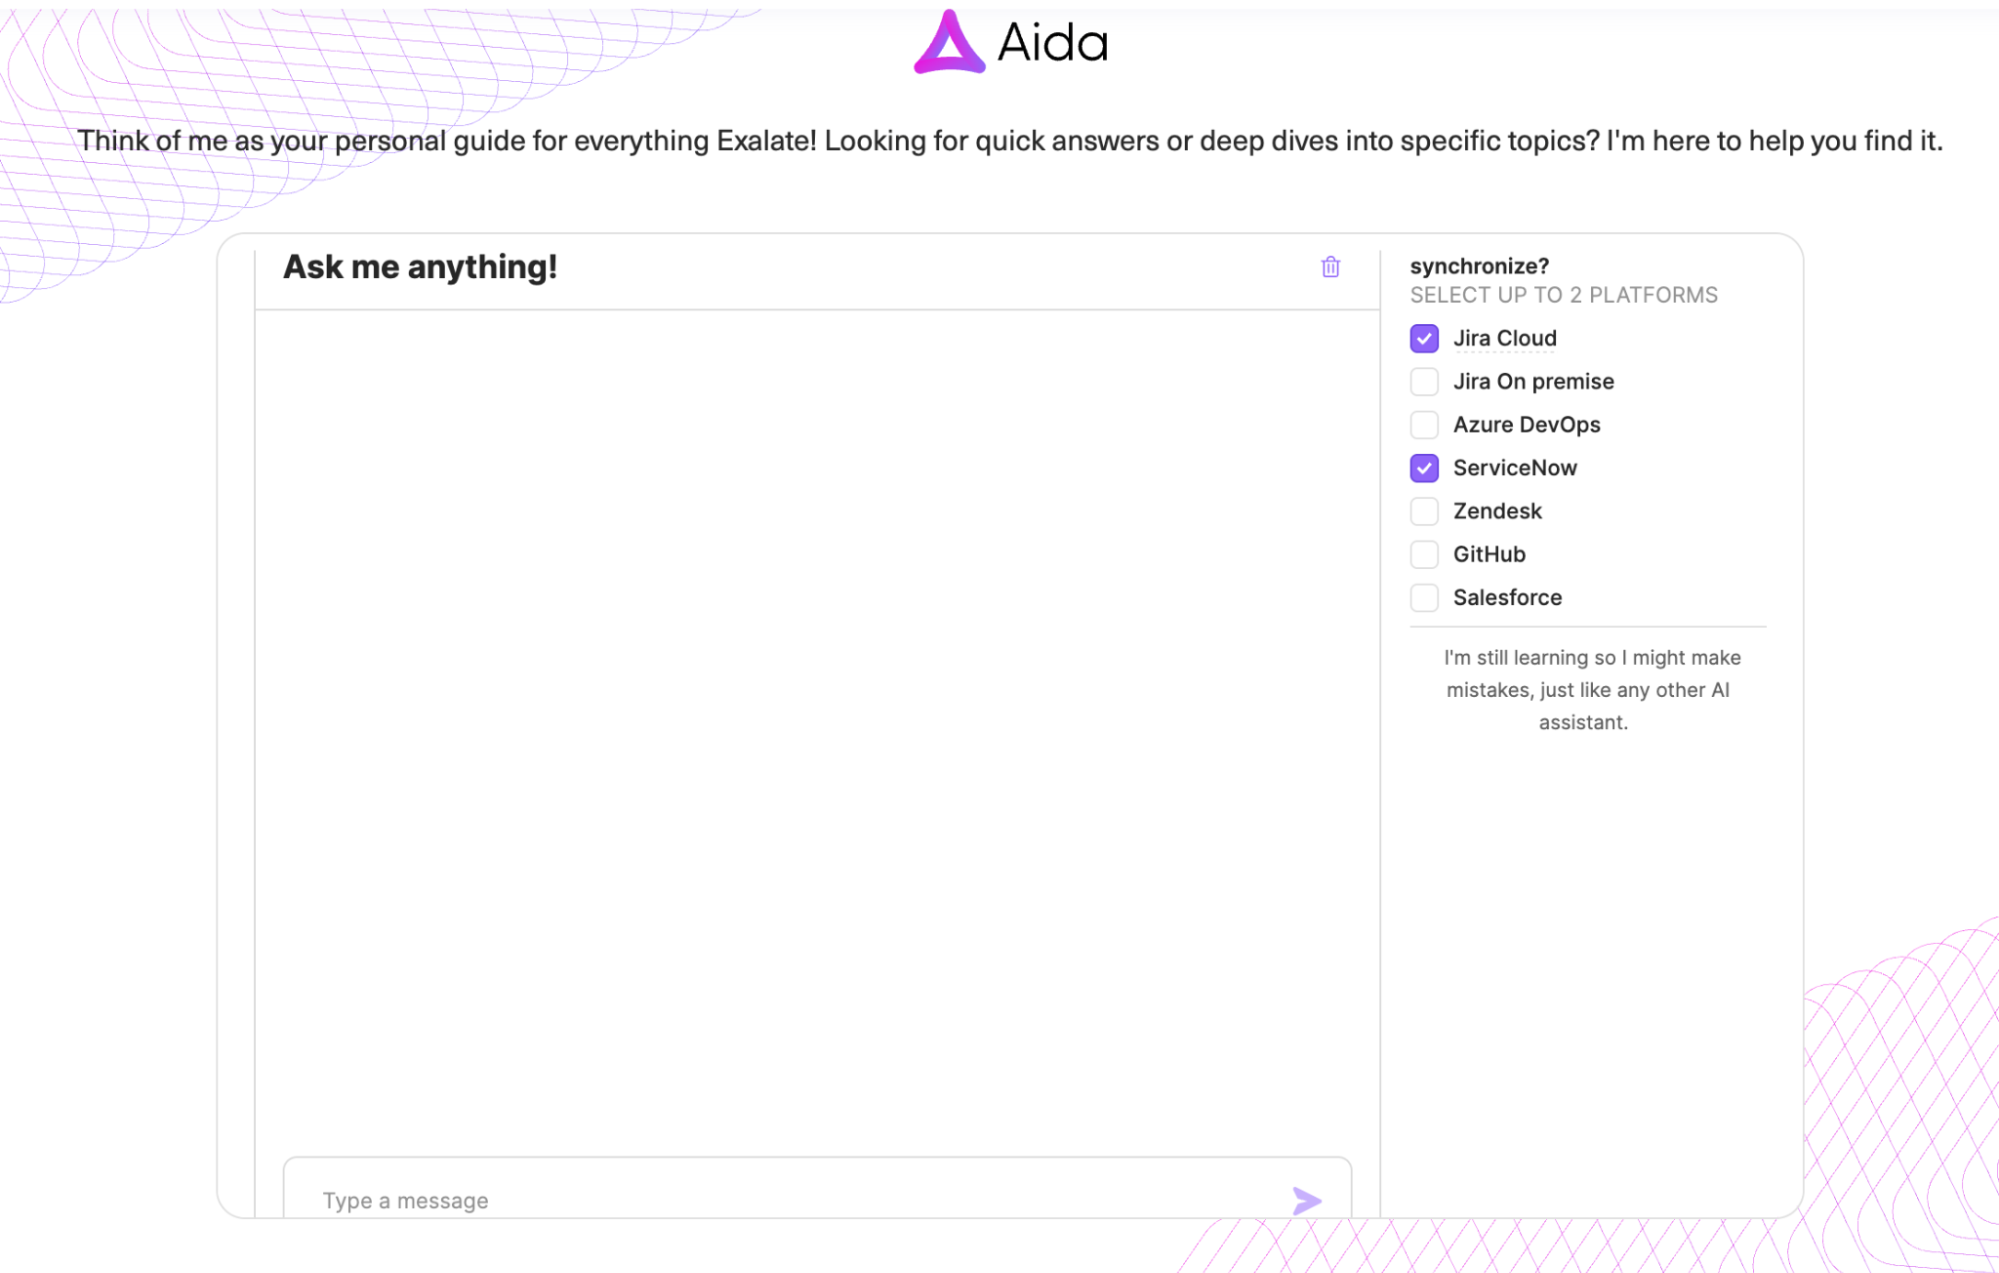
Aida is a documentation assistant that helps you search for technical information about Exalate as well as other configuration details. It scours through multiple pages of Exalate-related sources and knowledge bases to provide essential information about syncs within seconds.
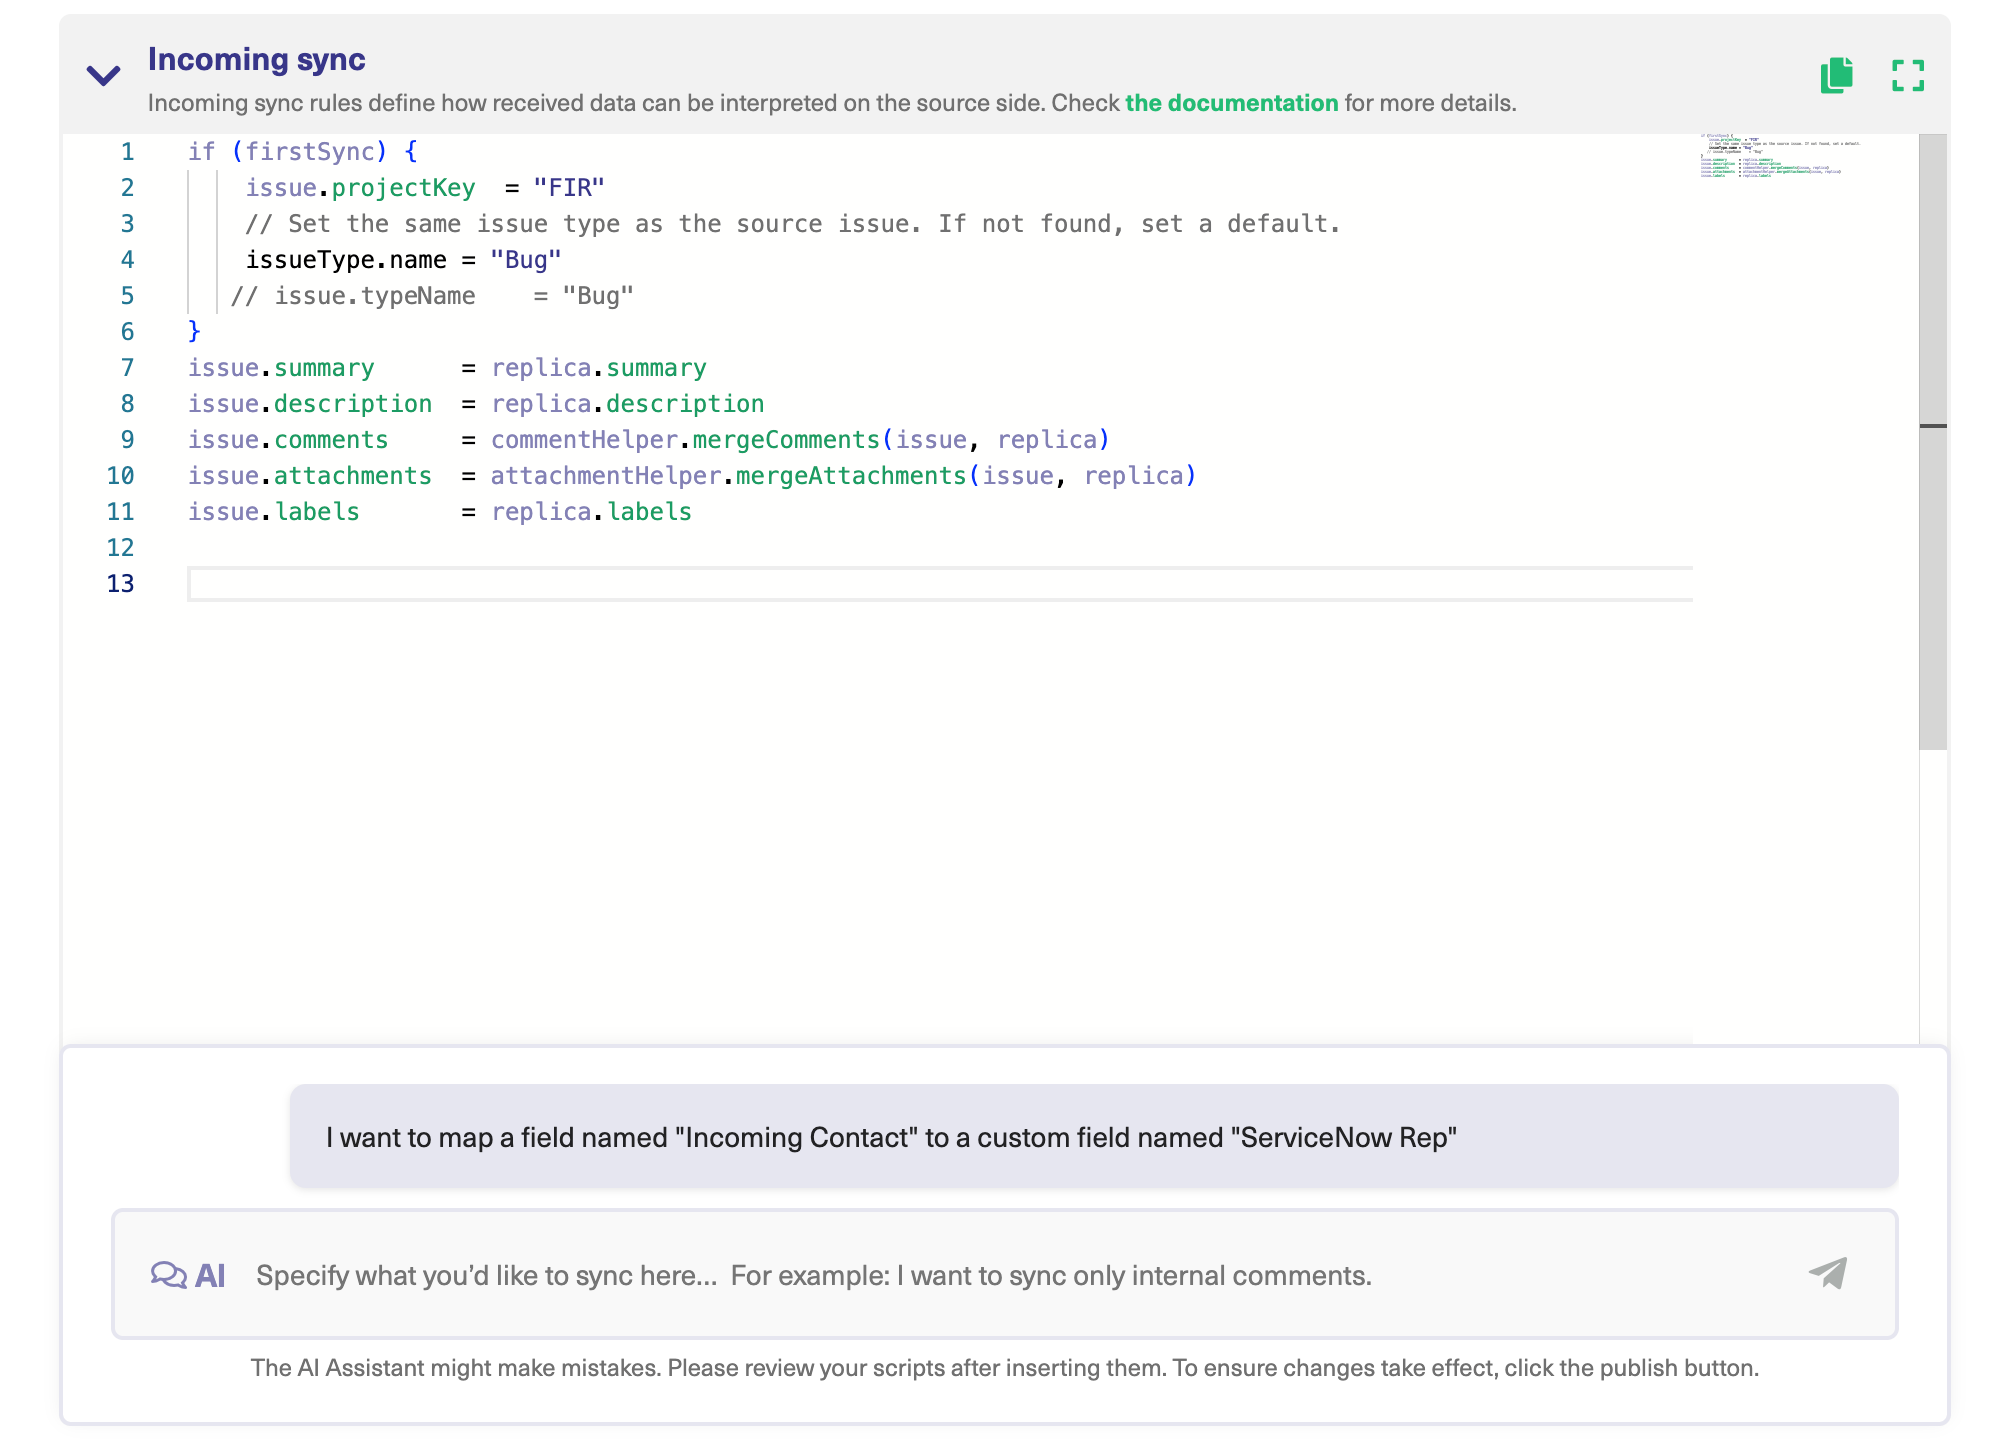
AI Assist is a chat window that sits inside both the incoming and outgoing sync sections, which users can rely on to generate scripts for sync configuration.
We’ve covered the full configuration and synchronization scenario between Jira and Salesforce, as well as how to use the AI-powered scripting engine to speed things up.
This webinar features our solution engineers implementing an actual Jira to Salesforce integration use case using AI Assist.
It is also important to mention that both AI tools use natural language to process your queries in order to fetch script suggestions for you. It considers your input, your existing configuration, and Exalate’s scripting API while doing so.
However, you’d still need to review the scripts before publishing since they are prone to mistakes, just like any other AI tool.
Do you have a use case that requires Salesforce integration with Jira Service Management? Contact our integration team to get started right away.
Recommended Reads:
- Jira Salesforce Integration: How to Set up a Two-Way Sync between Different Teams
- Salesforce Integrations: Integrate Salesforce and other Tools
- Salesforce Third-Party Integration: Set up a Bidirectional Sync between Salesforce and Other Tools
- Jira Integrations: Integrate Jira and Other Systems Bidirectionally
- How to Set Up a Bidirectional Jira Service Management Integration with Jira Software