This article was originally published in the Atlassian Community.
By integrating Jira and ServiceNow, teams can fetch related SLA records within a ServiceNow incident and sync them to a custom Jira field. This enables tracking SLA information and ensures timely incident resolution.
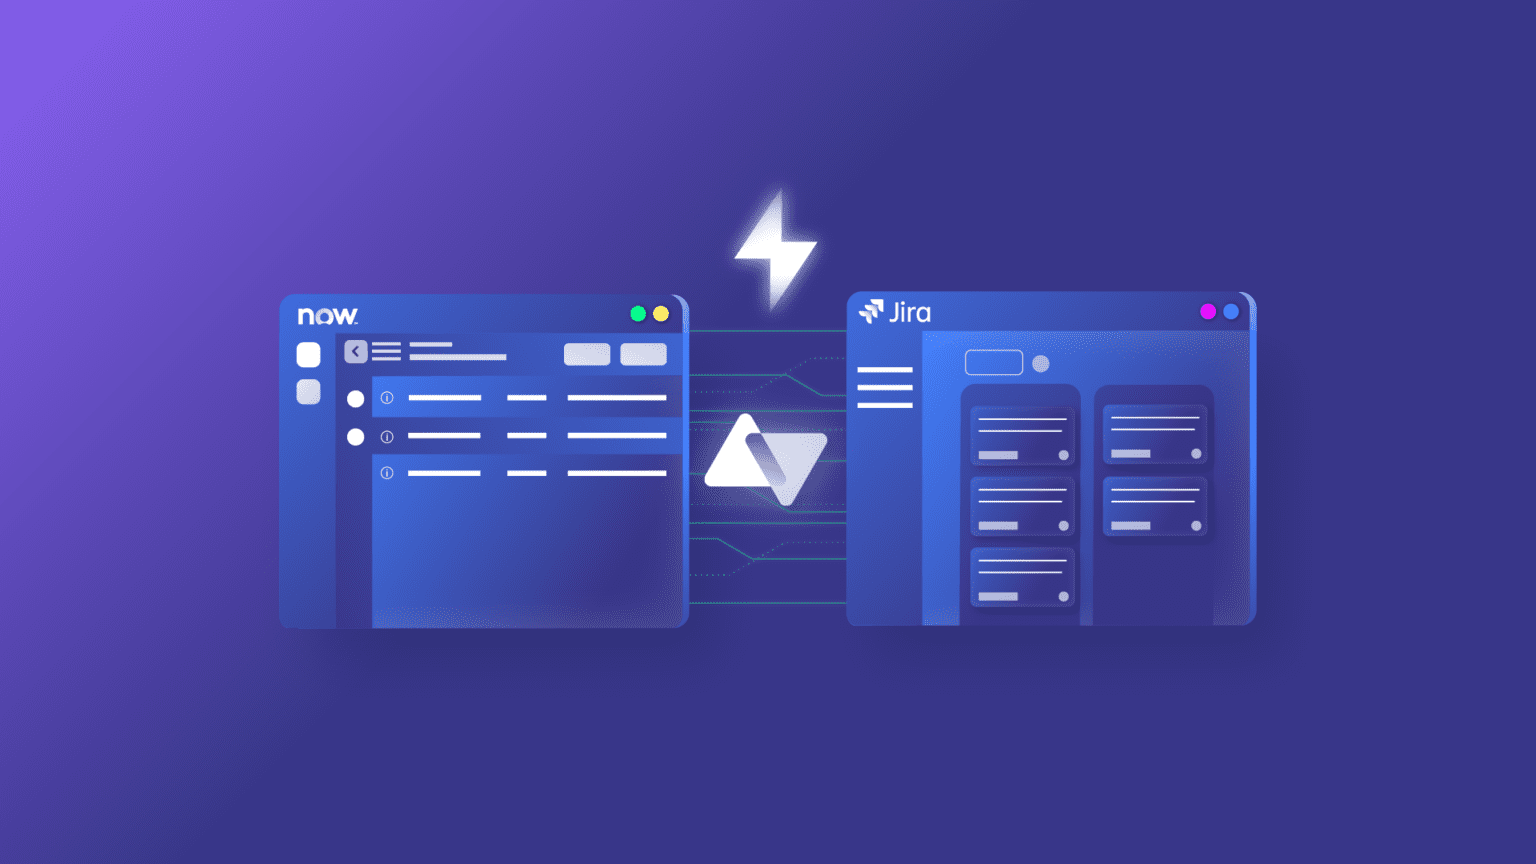
In this post, you will learn how to implement this use case using Exalate, a bi-directional integration solution.

The Use Case
Here are the requirements for this integration scenario:
An incident created in ServiceNow syncs to Jira as a work item. The short description and description of the incident are reflected within the Jira work item.
Comments from Jira and work notes from ServiceNow sync bi-directionally between the two platforms.
SLA information related to the incident syncs to the correct Jira work item in a custom field. The following SLA information is included:
- Name of the SLA
- Breach time
- State
State changes to the SLA record in ServiceNow update correctly in the SLA record on the Jira side.
Note: You can populate the SLA information in any Jira field. For this use case, we use a custom field called “SLA Info.”
The Challenge
Syncing an incident from ServiceNow to Jira is straightforward. However, syncing the SLA information requires careful handling.
An incident triggers (creates) an SLA record under two conditions:
- An incident of high priority is created
- An incident is assigned to a specific person or an assignment group
Once the SLA record is created, it must automatically sync to the Jira work item in the custom field. The challenge is finding the correct Jira work item to add the SLA information.
Additionally, state changes in the SLA record must update the SLA details on the Jira side.
Why Use Exalate for This Integration
Exalate is a bi-directional, fully customizable integration solution that connects applications like Jira, ServiceNow, Salesforce, Zendesk, Azure DevOps, Freshservice, Freshdesk, Asana, GitHub, and more.
Here is why Exalate works well for this use case:
- Groovy-Based Scripting Engine: Simplifies the configuration of intricate logical mappings between entities that require synchronization. You can sync any field available via the REST API.
- Platform-Native Triggers: Provides fine-grained triggers using JQL for Jira and filter queries for ServiceNow to enable automatic data sync.
- Operational Control: Admins on both integrating sides have independent control of the information and can fine-tune the sync without consulting each other.
- Real-Time Sync: Complete queue visibility ensures both teams always see the same data.
- AI-Assisted Configuration: Aida helps generate and troubleshoot sync scripts from natural language prompts.
- Test Run Functionality: Test your sync scripts against real data before production deployment.
- Script Versioning: Every script published creates a new version with full audit trail, rollback capability, and draft mode.
- Enterprise Security: ISO 27001 certified, role-based access control (RBAC), encryption in transit (TLS 1.2/1.3) and at rest. Visit the Exalate Trust Center for security documentation.
How to Sync SLA Information From ServiceNow to Jira
Prerequisites
Before you begin, ensure you have:
- An active Exalate account (or sign up for a free 30-day trial)
- Access credentials for both Jira and ServiceNow instances
Step 1: Create a Connection Between Jira and ServiceNow
Go to the Exalate app at exalate.app. Log in if you already have an account, or create a new account using your email or Google sign-in.
Creating a Workspace
Workspaces help you organize and manage your integrations in a single place. To create your first workspace:
- Click the “+ Create Workspace” button
- Enter a name and description for your workspace
- Click “Create workspace” to confirm
Creating Your Connection
Once you have a workspace, start creating your connection:
- Click “+ Add connections” then “Create new connection”
- Enter the name for your first system (System A). You can name either Jira or ServiceNow as System A.
- Enter the URL for your system. A validation check occurs. For new systems, enter your authentication details. ServiceNow uses Basic authentication, and Jira uses OAuth.
- Complete the same setup process for the other system
- Give your connection a name and description
- Click “Next”
- Review the details, then click “Create connection.”
When complete, select “Continue to configuration” and choose a Jira project for synchronization.
Step 2: Configure the Sync Rules
After setting up the connection, configure the sync rules. These are Groovy-based scripts that determine which information to exchange between Jira and ServiceNow.
Access these rules by clicking the “Configure Sync” button after the connection is established or by editing the connection.
The “Rules” tab contains the scripts. They exist on both the Jira and ServiceNow sides.
The “Outgoing sync” determines what information is sent from the source to the destination. The “Incoming sync” specifies how to receive information from the source.
The Scripts
The scripts in the “Rules” section provide default behavior for syncing comments, descriptions, and more. Add your own scripting rules for the SLA functionality.
ServiceNow: Outgoing Sync Script
From ServiceNow, send the SLA information in the “Outgoing sync”:
class SlaRecord {

    String name

    String breach_time

    String stage

    String linkValue

}

if(entity.tableName == "incident") {

    replica.key            = entity.key

    replica.summary        = entity.short_description

    replica.description    = entity.description

    replica.attachments    = entity.attachments

    replica.comments       = entity.comments

    replica.state          = entity.state

    def RelatedSlaRecords = []

    def limitResult = 20

    // lookup all related SLA records

    def response = httpClient.get("/api/now/table/task_sla?sysparm_query=task.number=${entity.key}&sysparm_limit=${limitResult}")

    if (!response || !response.result) return null

    // For each SLA record, lookup corresponding value in contract_sla table

    // and collect all the data required within the RelatedSlaRecords array

    response.result.each {

       SlaRecord temp = new SlaRecord()

       temp.breach_time = it.planned_end_time

       temp.stage = it.stage

       temp.linkValue = it.sla.value

       def slaRecord = httpClient.get("/api/now/table/contract_sla/${it.sla.value}")

       temp.name = slaRecord.result.sys_name

       RelatedSlaRecords.add(temp)

    }

    replica.slaResults = RelatedSlaRecords

}Code language: JavaScript (javascript)
What this script does:
The code runs an API query on the “task_sla” table to fetch the related SLA records for that incident. From there, you can pick up the breach time, stage, and SLA value.
To get the actual SLA name, the script runs another API query to the “contract_sla” table.
All SLA data is packaged within an object called “RelatedSlaRecords” and sent to the Jira side. If you have more than one SLA, the array populates all SLA objects.
Note: You can pick up any SLA information via Exalate and sync it to the other end.
Jira: Incoming Sync Script
On the Jira side, run a loop to iterate over all the fields from the array of objects sent from ServiceNow. Then display them in the custom “SLA Info” field:
if(firstSync){

  issue.projectKey   = "UD"

  // Set type name from source, if not found set a default

  issue.typeName     = nodeHelper.getIssueType(replica.type?.name, issue.projectKey)?.name ?: "Task"

}

issue.summary      = replica.summary

issue.description  = replica.description

issue.comments     = commentHelper.mergeComments(issue, replica)

issue.attachments  = attachmentHelper.mergeAttachments(issue, replica)

issue.labels       = replica.labels

issue.customFields."SLA Info".value = ""

for(int i=0; i<replica.slaResults?.size; i++){

    issue.customFields."SLA Info".value += "Name: ${replica.slaResults[i].name} \n Breach Time: ${replica.slaResults[i].breach_time} \n State: ${replica.slaResults[i].stage} \n\n"

}Code language: JavaScript (javascript)
You do not need modifications on the Jira outgoing and ServiceNow incoming sides for this use case.
Output
Begin by creating a simple incident.
Set it so that it triggers two SLA records. For example, make the incident priority high and assign it to a specific user.
Both SLA records sync to the Jira instance.
After syncing, the Jira work item displays the SLA information in the custom field.
If you change the state of the SLA (for instance, to “Cancelled”), the updated SLA state is reflected in the Jira “SLA Info” field.
Additional SLA Sync Scenarios
SLA Breach Alerts: Configure your sync to notify both teams automatically when an SLA is about to breach. Combine SLA state information with Jira notifications to keep developers informed of time constraints.
Multiple SLA Tracking: Incidents often have multiple SLAs (response time, resolution time, etc.). This script handles all related SLAs and displays them in a single custom field for complete visibility.
State Change Workflows: When a Jira work item is marked resolved, you can sync that resolution back to ServiceNow to update the incident status and stop the SLA clock automatically.
Exalate Pricing
Exalate uses outcome-based pricing: you pay for active sync pairs (work items currently in sync), not user seats or per-transaction fees. Each integration is billed independently.
Conclusion
By integrating Jira and ServiceNow with SLA synchronization, teams maintain complete visibility over critical incidents across both platforms. Development teams see the SLA constraints they must work within, while IT operations track progress in real-time without switching contexts.
This use case demonstrates how integration tools enable successful collaboration between teams working in different systems.
Ready to try Exalate?
Want to know if Exalate is the right solution for your business? Book a demo to discuss your requirements with an integration engineer.
Recommended Reading:


