Sales and development teams benefit from automatically exchanging information through a Salesforce GitHub integration because it gives them access to consistent and up-to-date business data across platforms.
In this guide, we examine how teams and organizations can benefit from GitHub Salesforce integration and consider critical factors when choosing integration technology. We’ll explore practical implementation approaches and examine common use cases that deliver measurable business value.
Note: For this guide, we use an integration platform called Exalate.
Key Takeaways
- Salesforce-GitHub integration eliminates manual data entry between sales and development teams, reducing errors and accelerating response times.
- Bidirectional synchronization keeps customer issues, feature requests, and development updates aligned across both platforms automatically.
- AI-assisted configuration through platforms like Exalate simplifies complex integration scenarios without requiring extensive coding knowledge.
- Flexible field mapping and custom triggers enable teams to tailor integrations to specific business workflows and requirements.
- Real-time status updates between Salesforce cases and GitHub issues improve customer communication and internal transparency.

Why Integrate Salesforce and GitHub
Enhanced customer support and faster query resolution are significant factors in keeping existing customers happy and maintaining low churn.
To achieve this common goal, teams in an organization often search for information across different applications or ask other team members for context. This manual approach creates bottlenecks.
In modern workplaces, teams no longer need to request information via email, schedule unnecessary meetings, or waste time copy-pasting data while toggling between applications. Manual data entry leads to mistakes, redundant information, misplaced context, and wasted productive time.
Automated information exchange through integration platforms helps teams maintain a unified view of business-critical information without leaving their preferred tool. If your teams use Salesforce and GitHub, automatic real-time data exchange can help them deliver better customer experiences and collaborate more effectively.
Use Cases for Salesforce GitHub Integration
Let’s explore practical business applications for Salesforce to GitHub integration:
Customer Support and Development Collaboration
Case: A customer reports a critical bug through a Salesforce case that requires immediate developer attention.
Solution: The integration automatically creates a corresponding GitHub issue with all relevant case details: description, priority, customer account information, and assigned owner. Custom fields sync bidirectionally to preserve context.
Real-world application: A SaaS company reduced average bug resolution time by 40% after implementing Salesforce-GitHub integration. Support reps no longer manually create developer tickets, and developers receive complete customer context immediately.
Bidirectional Status Updates
Case: Development teams make progress on issues, but sales teams lack visibility into fix timelines and must manually follow up.
Solution: Status synchronization between GitHub issues and Salesforce cases provides real-time progress updates. When developers mark a GitHub issue as “In Progress” or “Resolved,” the corresponding Salesforce case updates automatically.
Real-world application: An enterprise software vendor improved customer satisfaction scores by 25% because account managers could proactively communicate fix timelines without pestering engineering teams for updates.
Priority-Based Routing
Case: High-value customer requests get lost in the queue alongside routine issues, creating frustration and potential churn risk.
Solution: Based on SLA timelines and assigned priority levels, incoming Salesforce cases route to corresponding GitHub issues automatically. Custom triggers map priority fields between platforms, ensuring critical issues receive immediate attention.
Real-world application: A financial services company implemented priority-based routing that automatically escalates cases from enterprise customers, reducing enterprise support SLA breaches by 60%.
Feature Request Management
Case: Sales teams collect valuable product feedback from customers, but these insights rarely reach product and engineering teams in an organized way.
Solution: Feature requests logged as Salesforce opportunities or cases automatically create GitHub issues in the product backlog. Voting and comment synchronization keep sales teams informed when features ship.
Real-world application: A B2B software company transformed its feature request process, increasing the percentage of customer-requested features that actually shipped from 15% to 45% within one year.
Accelerated Support Resolution
Case: Duplicate bug reports consume engineering time, while a lack of automated issue creation delays initial response.
Solution: Automating GitHub issue creation from Salesforce cases prevents duplication through intelligent matching. Automated workflows speed up triage timelines and eliminate manual ticket creation overhead.
Real-world application: A healthcare technology company reduced its average first response time from 4 hours to 30 minutes by eliminating manual issue creation steps.
These use cases become even more powerful with customizable integration platforms that adapt to your specific workflows and business requirements.
Choosing the Right Integration Platform
Implementing a Salesforce GitHub integration requires evaluating different platforms and choosing the right one based on your business needs. Here are key considerations.
Bidirectional Synchronization
Your integration should support two-way data flow, not just one-way updates. Changes in either Salesforce or GitHub should reflect in the other platform based on your configured rules. This ensures both teams always work with current information, regardless of where updates originate.
Look for platforms that let you control sync direction per field; some information might flow one way while other data syncs bidirectionally.
Security and Compliance
Data security is paramount when exchanging business-critical information between platforms. Your integration platform should support encrypted data transfers, role-based access controls, and secure transfer protocols like HTTPS.
Additionally, look for ISO certification and other credentials. These certifications demonstrate that the platform maintains rigorous security standards.
Flexible Field Mapping
Business requirements vary significantly across organizations. Your integration platform should accommodate custom fields, unique data structures, and complex transformation rules without forcing you into rigid templates.
This flexibility becomes critical when you need to map Salesforce custom objects to GitHub issue metadata or sync proprietary fields that standard integrations don’t support.
AI-Assisted Configuration
Modern integration platforms leverage AI to simplify complex configuration scenarios. Rather than writing code from scratch, AI-assisted tools like Aida can generate integration scripts based on natural language descriptions of your requirements.
For example, you might describe “sync high-priority Salesforce cases to GitHub issues in the engineering repository,” and the AI generates the necessary configuration automatically. This dramatically reduces implementation time for teams without deep technical expertise.
Sync Panel
Exalate also comes with a Chrome extension called Sync Panel that lets users check sync status, spot errors, trigger manual syncs, and unlink sync pairs straight from the browser, without opening the console.
It’s useful for two groups: admins who want to keep an eye on sync status without switching tabs and end users who want to confirm that the remote side received their update. You can access this feature via the browser. But if you want to check the sync queue status or configure your sync, you still need to log into the Exalate console.
Intelligent Triggers and Automation
Beyond basic synchronization, look for platforms that support conditional triggers. You should be able to specify exactly when synchronization occurs based on field values, status changes, or custom business logic.
For instance, you might only want to sync Salesforce cases to GitHub when they reach a specific status or exceed a certain priority threshold. Granular trigger control prevents unnecessary synchronization and keeps your data clean.
Scalability and Reliability
Integration platforms should handle downtime gracefully. When either Salesforce or GitHub experiences temporary unavailability, your integration should queue pending changes and apply them automatically once connectivity is restored.
This transactional approach prevents data loss and ensures consistency even during system maintenance windows or unexpected outages.
Connector Coverage
While you’re implementing Salesforce-GitHub integration today, your tech stack will evolve. Choose platforms that support additional connectors for tools like ServiceNow, Azure DevOps, Zendesk, Jira, Freshservice, Freshdesk, Asana, and others.
Exalate supports integrations across these platforms and more, giving you flexibility as your integration needs expand. This prevents vendor lock-in and reduces the need to learn multiple integration tools as your stack grows.
For this article, we’ve chosen Exalate because it meets these critical requirements. It uses encrypted file exchange and role-based access controls, provides AI-assisted configuration through Aida, and supports customizable field mapping through flexible scripting capabilities. Check this security whitepaper for further details.
Exalate’s transactional synchronization engine queues all applicable changes automatically and handles retries intelligently, even during system upgrades or maintenance windows. It supports integrations for Jira, ServiceNow, Azure DevOps, Zendesk, Salesforce, GitHub, Freshservice, Freshdesk, Asana, and others.
How to Set up a Salesforce GitHub Integration
If you’re on Exalate Classic, then you can import your existing nodes and connections using the “Import connection” feature.
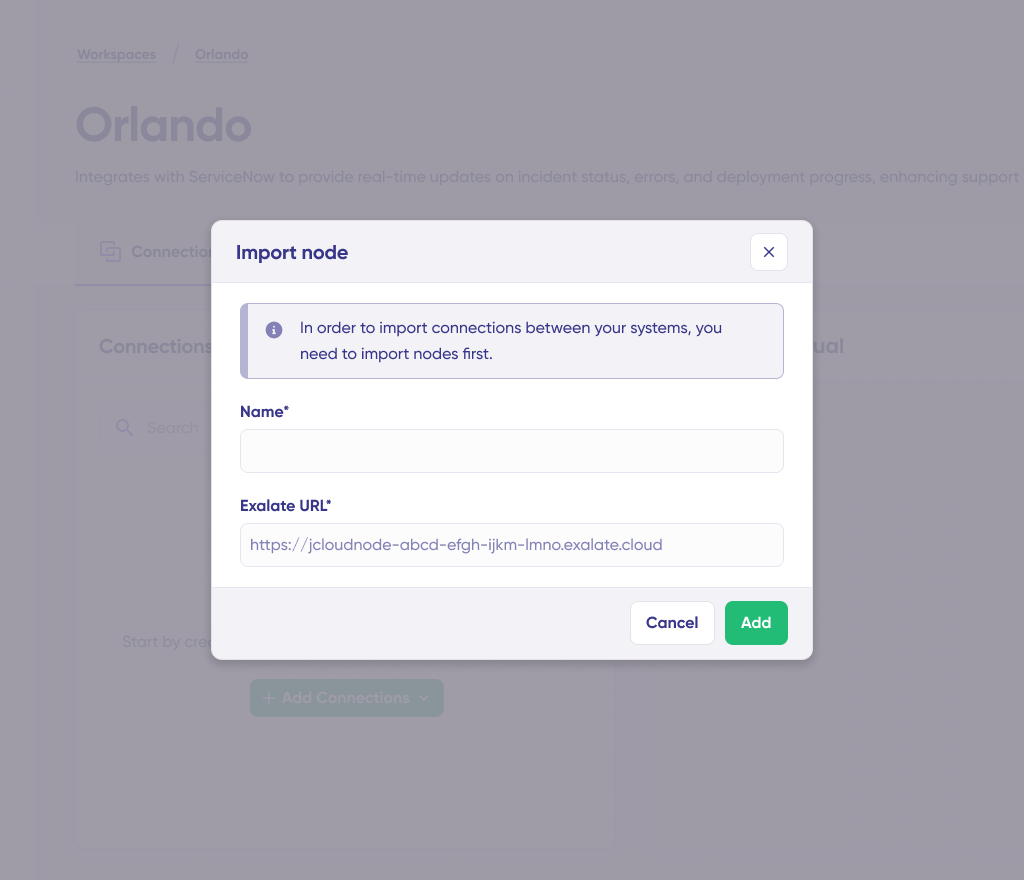
This will help you retain existing configurations and sync rules as you move to New Exalate.
To get started with Exalate for GitHub or discuss your use case and requirements, please contact sales.
Common Salesforce GitHub Integration Scenarios
Beyond the standard use cases, organizations implement Salesforce GitHub integrations to solve specific challenges:
- Customer-Driven Development Priorities: Product teams sync high-value customer requests from Salesforce opportunities directly into GitHub project boards. This ensures engineering roadmaps align with revenue-generating opportunities rather than internal assumptions about customer needs.
- Release Communication: When GitHub releases are tagged and deployed, corresponding Salesforce cases receive automatic updates notifying account managers. This enables proactive customer communication about fixes and new features without manual tracking.
- Technical Debt Visibility: Development teams expose technical debt and infrastructure issues from GitHub to Salesforce, giving business stakeholders visibility into non-feature work that impacts product quality. This helps justify resource allocation for refactoring and architectural improvements.
- Multi-Tier Support Escalation: Level 1 support teams working in Salesforce can escalate complex technical issues to Level 2 engineers working in GitHub with complete context transfer. Bidirectional synchronization ensures both teams see updates regardless of where they’re added.
- Sales Engineering Collaboration: Pre-sales engineers log technical requirements and constraints from prospect conversations directly into Salesforce. These automatically sync to GitHub, giving product and engineering teams visibility into feature requirements needed to close deals.
- Customer Success Team Alignment: Customer success managers tracking account health in Salesforce can surface urgent issues directly to engineering via GitHub without manual handoffs. When critical bugs impact strategic accounts, automated escalation ensures rapid engineering response.
Measuring Integration Value
Implementing Salesforce GitHub integration delivers measurable benefits across several dimensions:
- Time Efficiency: Organizations typically see 60-80% reduction in time spent on manual data transfer between platforms. Support teams save hours per week previously spent copying information, chasing updates, or scheduling status meetings.
- Error Reduction: Automated synchronization eliminates transcription errors, missing context, and outdated information. Teams report 90%+ reduction in data discrepancies between platforms after implementing integration.
- Response Time Improvement: Faster information flow between sales and engineering accelerates initial response times and overall issue resolution. Some organizations cut average resolution time by 40-50% simply by eliminating coordination overhead.
- Customer Satisfaction Impact: When support teams provide accurate, timely updates about issue progress, customer satisfaction scores typically improve 20-30%. Proactive communication enabled by real-time synchronization transforms the customer experience.

Calculate time and money savings from automated bidirectional sync.
Frequently Asked Questions
What is Exalate’s Salesforce GitHub integration?
Exalate’s Salesforce GitHub integration connects your GitHub repository with your Salesforce org through a flexible integration platform. It automatically synchronizes cases, issues, status updates, and custom fields between platforms based on your configured rules, eliminating manual data entry while giving each team control over what information they send and receive.
How does Exalate handle synchronization during downtime?
Exalate queues all pending changes during downtime and automatically applies them once connectivity is restored. Changes sync in the correct sequence without data loss, even during system maintenance, network issues, or unexpected outages. This ensures both teams always work with consistent information, regardless of temporary platform unavailability.
Can I use Exalate without extensive coding knowledge?
Yes, Exalate offers AI-assisted configuration through Aida that generates integration scripts from natural language descriptions. While some technical knowledge helps with complex scenarios, you can describe your requirements in plain English—like “sync high-priority Salesforce cases to GitHub engineering repository”—and Aida generates the necessary configuration automatically.
How much does Exalate cost for Salesforce to GitHub integration?
Exalate pricing scales with the number of synced items. There’s a free plan for basic use cases and paid plans based on sync volume. Check out our pricing page to see which plan works best for your use case.
What information can Exalate sync between Salesforce and GitHub?
Exalate syncs any Salesforce entity (Cases, Opportunities, Accounts, Tasks, custom objects) with GitHub issues based on your configuration. Common synchronized data includes descriptions and summaries, status and priority levels, assigned owners, custom fields, comments and attachments, timestamps, and relationship links. You control exactly which fields sync and how they transform between platforms.
How does Exalate control which Salesforce cases sync to GitHub?
Exalate supports conditional triggers that determine exactly when synchronization occurs. You configure rules based on case status, priority level, assigned team, customer account, custom field values, or combinations of conditions. This prevents unnecessary synchronization and keeps your GitHub repository focused on relevant issues while maintaining flexibility as requirements change.
What other platforms does Exalate support besides Salesforce and GitHub?
Exalate supports integrations across Jira Cloud, ServiceNow, Azure DevOps, Zendesk, Freshservice, Freshdesk, Asana, GitHub, and custom REST APIs. This multi-platform support means you can use Exalate as your tech stack evolves, connecting different tool combinations without learning multiple integration platforms or switching vendors.
How secure is Exalate for Salesforce GitHub integration?
Exalate maintains ISO 27001:2022 certification and uses encrypted data transmission, role-based access controls, and secure protocols for all synchronization. Each side of the integration controls what information it sends and receives independently. For detailed security documentation, compliance certifications, and architecture details, visit our Trust Center.
Recommended Reads:
- How to set up a Jira Salesforce Integration
- Salesforce to Salesforce Integration: Sync Multiple Salesforce Instances Bidirectionally
- How to Set up a Jira GitHub Integration
- Salesforce Zendesk Integration
- How to Set up a ServiceNow GitHub Integration
- How to Set Up a Salesforce ServiceNow Integration
- How to Set up an Azure DevOps GitHub Integration
- How to Set up a Zendesk GitHub Integration