Organizations that use both GitHub and Salesforce often need to keep data consistent across both platforms. Syncing statuses and custom fields between them allows development and sales or support teams to collaborate without switching tools or copying data manually.
For this to happen, you need a third-party integration solution. In this post, I’ll show you how to sync statuses and custom fields between GitHub and Salesforce using Exalate.

Status and Custom Field Sync: GitHub to Salesforce Use Case
You can create custom fields in your Salesforce case that reflect data from a GitHub issue. These custom fields pull values from GitHub default fields and display them directly inside Salesforce.
For this use case, we want to fetch the ID and status of a GitHub issue and have them appear in custom text fields on a Salesforce case. We’ll also walk through how to automatically change the Salesforce case status based on the GitHub issue status.
This is useful when support teams need visibility into development progress. For example, when a developer changes a GitHub issue status to “Done,” the linked Salesforce case can automatically update to “Escalated” or “Closed,” keeping your support team in the loop without any manual effort.
Here are the requirements and challenges:
Primary Requirements
- Fetching the correct API name from fields and entities on both GitHub and Salesforce.
- Mapping the correct statuses between Salesforce and GitHub.
- Establishing sync rules for the incoming and outgoing data in custom fields.
- Setting triggers to automatically start a Salesforce GitHub integration.
Potential Challenges
- Data transformation between different field types and formats
- Network timeouts during large sync operations
- Trigger configuration complexity
- Accuracy of rules and field mappings
How Exalate Syncs Statuses and Custom Fields Between GitHub and Salesforce
Exalate is a two-way integration solution that connects platforms like Jira, Jira Service Management, ServiceNow, Azure DevOps Cloud, Azure DevOps Server, Salesforce, Zendesk, Freshservice, Freshdesk, Asana, GitHub, and custom connectors.
Configure Sync Rules
After creating your connection, you have two configuration options: “Quick Sync” and “Edit & Test.”
For this use case, choose “Edit & Test” since status and custom field mapping requires scripting.
Click “Create a new version” or select “Open latest draft.” Then click the “Edit” button to open the editor and modify the sync rules.
Enter the following code snippet into the Salesforce “Incoming sync” text area:
entity."GitHub_ID__c" = replica.key
entity."GitHub_Status__c" = replica.status.nameCode language: JavaScript (javascript)
The entity."GitHub_ID__c" function points to the custom field name within the Salesforce case. The replica.key expression contains the payload of the GitHub issue key.
The entity."GitHub_Status__c" function points to the custom field name within the Salesforce case. The replica.status.name expression contains the payload name value of the GitHub issue status.
If you want the Salesforce Case status to change automatically when you change the GitHub issue status, you need to map the statuses. Enter the following snippet in the Salesforce “Incoming sync” text area:
def statusMap = [
          "New"         : "New",
          "In Progress" : "Working",
          "Done"        : "Escalated"
        ]
def remoteStatusName  = replica.status.name
statusName = statusMap[remoteStatusName]
entity.Status = statusNameCode language: JavaScript (javascript)
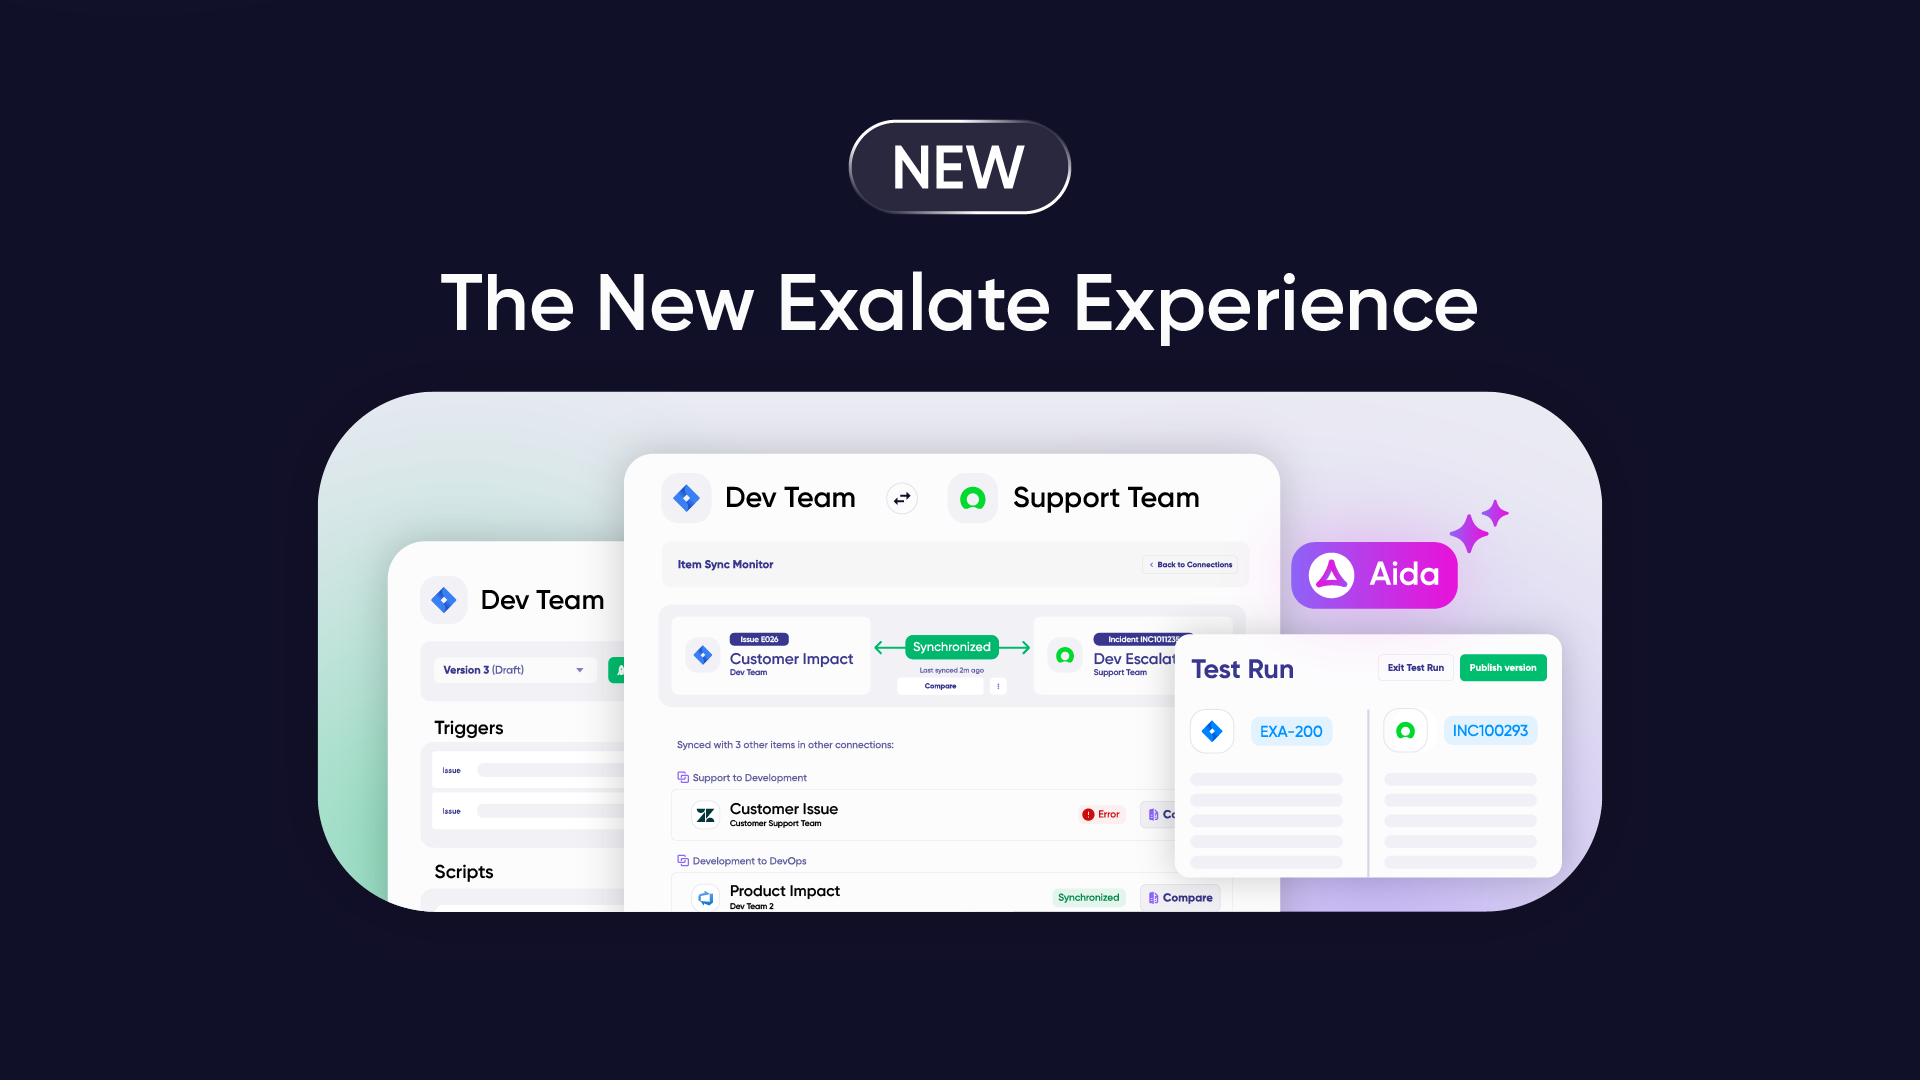
Once done, you can use Test Run to validate the script against real data. Select the work items you want to test, click “Start Test Run,” and review the incoming and outgoing replicas. If the field mappings look correct, click “Publish Version” to apply the configuration to your live synchronization.
Add Triggers
To automate the sync, you need to add triggers. Triggers are conditions or filters that determine which items get synced.
Click the “+ Add trigger” button to start creating triggers. These triggers are platform-specific:
- For GitHub: You can filter by labels, milestones, or other issue attributes.
- For Salesforce: You can use Salesforce Object Query Language (SOQL) and advanced search syntax to configure event triggers.
For example, if you want to trigger the sync for any Salesforce case with the status “Working,” here is the query:
Status = "Working"
Activate the trigger and add notes describing what it does. Your trigger is set.

Congratulations. You have now set rules and triggers to update statuses and sync custom Salesforce case fields with GitHub issues. Start monitoring things and adjust the rules as needed for specific projects and workflows. Start a free trial to try this setup yourself, or book a demo with one of our integration experts if you want to see how Exalate fits your specific use case.
Recommended Reading:
- How To Map and Sync Statuses and Correlation Details Between Azure DevOps and ServiceNow
- How to Sync Text, Date, and Picklist Custom Fields Between Jira and Azure DevOps
- How to Use Exalate to Synchronize Insight Objects
- Advanced Integration Use Cases
- How to Synchronize a ServiceNow Customer Case to a Jira Epic
- How to Sync Tempo Worklogs Between Two Jira Cloud Instances
- How to Sync Custom List Fields Bi-Directionally Between Jira and Zendesk


