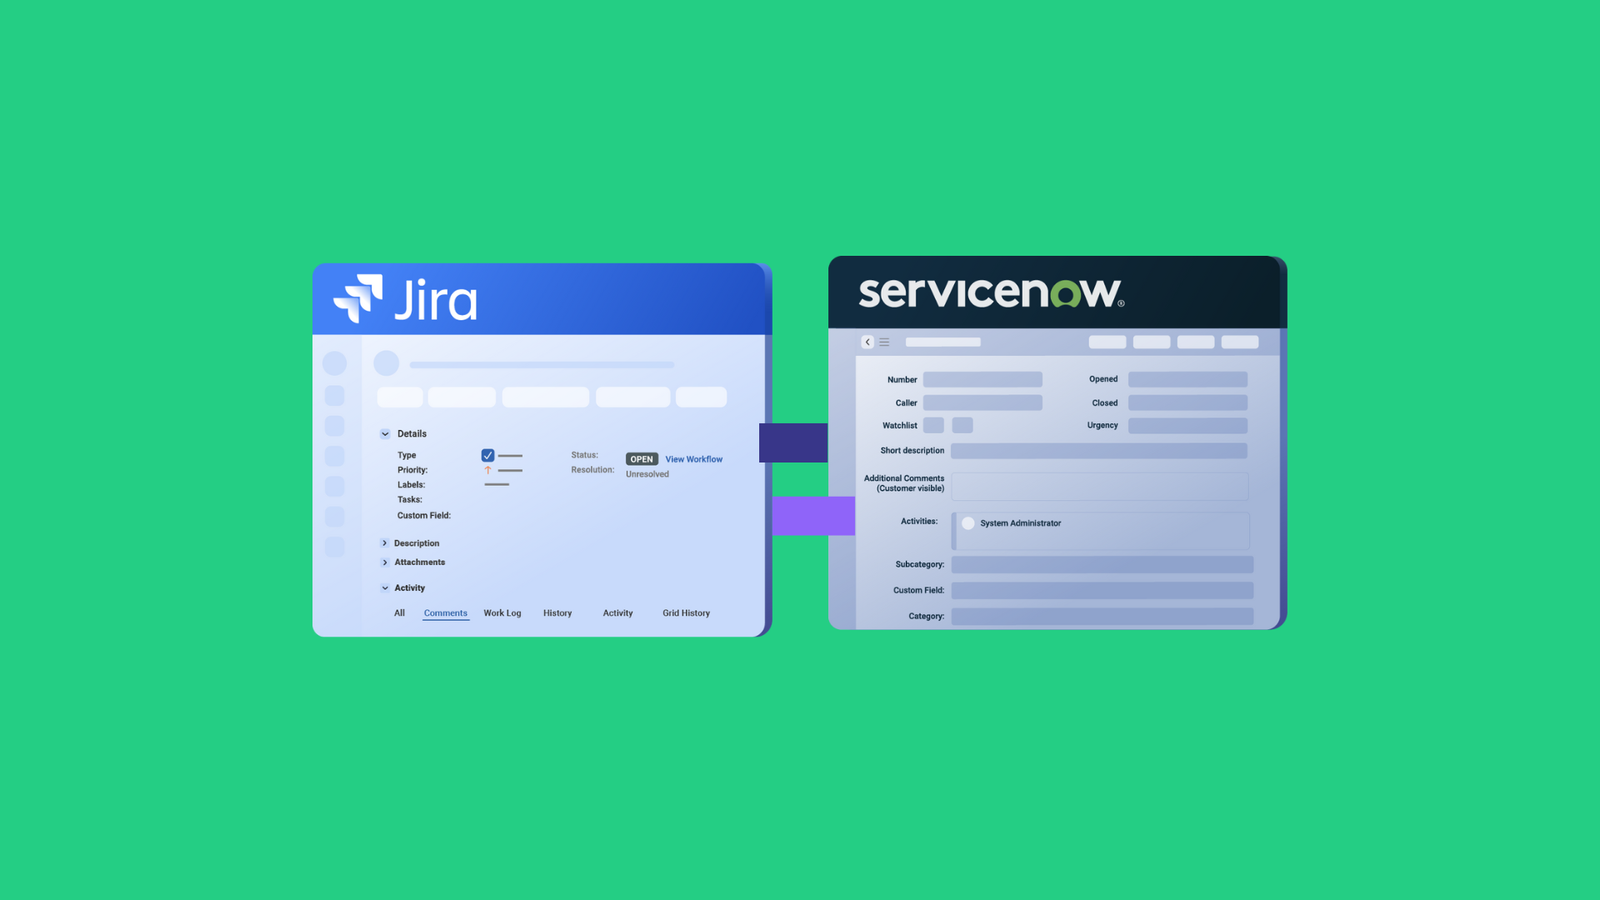
The ability to replicate the mood of the customer whenever a Zendesk ticket is raised or a ServiceNow incident is logged can make a significant difference in the quality of service you deliver.
Assuming a ticket from Jira Service Management comes with a custom field conveying that the customer is “livid”. The only way to convey the information to the support team using Zendesk is to sync the field to a corresponding custom field in Zendesk.
And now, if the Zendesk team wants to escalate it further to IT on ServiceNow, they’d also need a designated custom field.
This multi-tiered use case will show you how to convey the customer mood for every ticket or incident you create between Zendesk and ServiceNow.
Zendesk Custom Fields
Zendesk supports different types of custom fields, including drop-down lists, texts (strings), numbers, regex, checkboxes, dates, and much more.
These custom fields can help capture additional information beyond the usual scope, such as customer mood, incoming ticket ID, and others.
When naming custom fields, use unique names and identifiers to avoid conflicts with default names.
The name of the custom field we’re looking for in Zendesk is “ServiceNow Desk Ticket Number”.
ServiceNow Custom Fields
Custom fields in ServiceNow also extend the capacity of information available to users. It is usually a text field (sometimes, read-only) or a drop-down list.
You can also set the default (dynamic) value and establish a maximum character length for the incoming value.
The name of the custom field we’re looking for in ServiceNow is u_jira_mood.
How to Sync Customer Mood Between Zendesk and ServiceNow
First, you need to connect Zendesk and ServiceNow using Exalate’s Script mode. You can also explore a multi-platform connection by syncing the Jira instance as well.
For now, let’s focus on ServiceNow and Zendesk.
To configure the sync, open Exalate in your ServiceNow dashboard, go to the connection you want to edit, and click on the “Edit connection” icon.
You have two options:
- Outgoing sync (on the ServiceNow side) refers to the data being sent over to the Zendesk ticket.
- Incoming sync (on the Zendesk side) refers to the data to be received from the incident in ServiceNow.
ServiceNow Outgoing Sync
To send out the value of the mood reflecting how the Jira customer feels, here is the code for the ServiceNow outgoing side of the sync:
replica.mood = entity.u_jira_mood |
The replica retrieves the value of the mood field from the incident and saves it as a string. This string will now be carried over to the Zendesk ticket.
ServiceNow Incoming Sync
For the values coming in from the Zendesk ticket, here is the code for the ServiceNow incoming sync:
entity.u_jira_mood = replica.customFields."ServiceNow Desk Ticket Number".value |
The entity saves the incoming mood based on the payload carried by the replica from the designated custom field.
Zendesk Incoming Sync
To receive the customer mood from the ServiceNow incident, here is the code for the Zendesk incoming side of the sync:
issue.customFields."ServiceNow Desk Ticket Number".value = replica.mood |
The issue.customFields saves the incoming mood based on the payload carried by the replica from ServiceNow.
Zendesk Outgoing Sync
Here is the code for the Zendesk outgoing side of the sync:
replica.customFields."ServiceNow Desk Ticket Number".value = issue.customFields."ServiceNow Desk Ticket Number".value |
The replica retrieves the custom field value and forwards it to the ServiceNow incident field. Make sure to add the value method to avoid errors.
Congratulations! You have successfully synced the customer mood between Zendesk and ServiceNow.
Set Up Triggers for Zendesk to ServiceNow Sync
Triggers automate the synchronization between ServiceNow and Zendesk. These triggers set up event conditions that allow data to flow between the two systems.
Zendesk triggers are based on the search syntax.
type:ticket ticket_type:incident priority:urgent |
This rule syncs every ticket with urgent priority.
Similarly, Exalate also relies on the ServiceNow search syntax for trigger configuration.
urgency = 1 |
Basically, this simple line automatically triggers the synchronization of any high-priority incident created in ServiceNow.
To see how this is implemented in practice, here is a video showing how it is implemented.
If you still have questions or want to see how Exalate is tailored to your specific use case, discuss it with one of our experts right away.
Recommended Reading:


