
This article was originally published on the Atlassian Community.
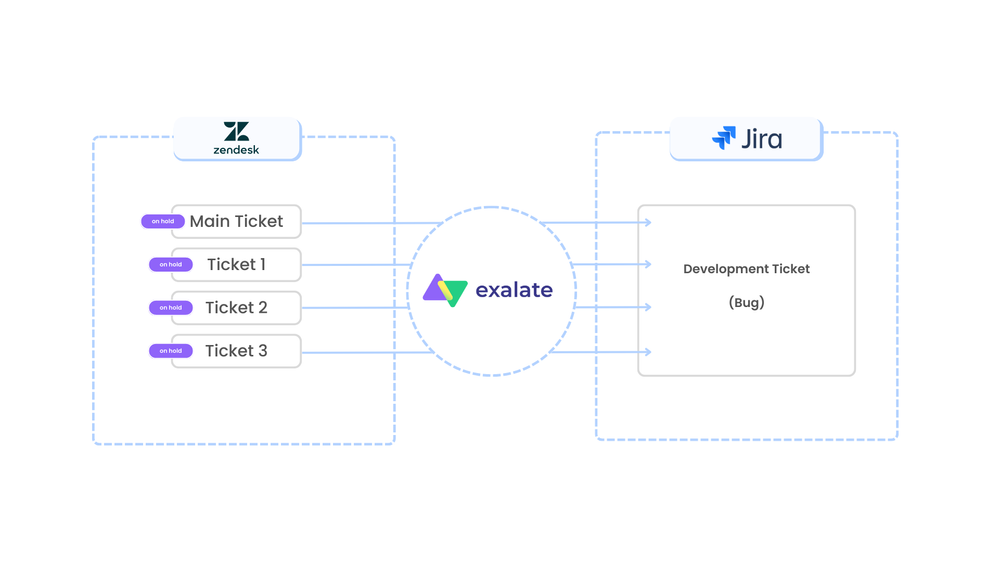
Teams often need to sync custom Jira list fields with Zendesk support tickets to share context about bugs, fixes, and ticket status using additional custom fields. This keeps both sides aligned without manual copy-pasting.
In this post, I’ll walk you through how Exalate makes this bidirectional sync possible. All aboard!

Changing Ticket Status Through Custom List Fields: Zendesk to Jira Use Case
When the support team changes the “Mood” via the custom field on a Zendesk ticket, the label and “Mood” on the corresponding Jira work item should also reflect this change.
At the same time, selecting a new option in the “Jira Mood” custom field will automatically change the status of the “Tag” and “Mood” on the Zendesk ticket.
Here are the primary requirements and potential challenges of this process.
Main Integration Requirements
When an agent selects an option from the dropdown custom field, the status will be transferred as a default value to the other side.
For this to work correctly, I’ll need to create sync rules to control the incoming and outgoing data that should be transferred on both sides. This will ensure that changing the status on Jira will affect the correct field on the Zendesk ticket.
Potential Challenges
Here are the challenges you could face while working on this sync:
- Returning the correct value (capitalization, etc.)
- Network interruptions
- Bad trigger configuration
- Incorrect field mapping
- Scripting errors
The Solution: Exalate
Exalate is an integration solution that allows you to synchronize workflows (descriptions, attachments, labels, etc) between independent platforms bidirectionally. Exalate works with Jira, Jira Service Management, ServiceNow, Azure DevOps Cloud, Azure DevOps Server, Salesforce, Zendesk, Freshservice, Freshdesk, Asana, GitHub, and other platforms.
Benefits of Using Exalate
- Exalate’s Groovy scripting engine allows you to write custom sync rules, reducing the time and effort required to handle tickets individually.
- You can create and configure multiple triggers to automate syncs using the Jira Query Language (JQL), advanced search syntax, or platform-native query languages.
- The Bulk Operations feature lets you sync multiple tickets or work items simultaneously.
- Aida, Exalate’s AI-assisted configuration, helps you generate and troubleshoot sync scripts faster.
- Test Run lets you validate sync scripts against real data before deploying to production, so you can catch errors early.
How to Set Up a Jira Zendesk Connection with Exalate
To get started, go to the Exalate app and log in. New users can create an account by entering their email and verifying it, or by signing up with Google.
Start by creating a workspace. Once you have a workspace, you can start creating connections between Jira and Zendesk.
- Click “+ Add connections” > “Create new connection”.
- Enter the name for your first system (System A). You can name either Jira or Zendesk as System A.
- Once you enter the URL, a validation check occurs. If your system is already part of the existing workspace, authentication happens automatically. If the system is part of a different workspace, it will be imported into your current workspace.
- For new systems, you’ll need to enter your authentication details. Jira uses OAuth, and Zendesk uses an API token.
- Complete the same setup process for the other side.
- Give your connection a name and description.
- Click “Next”.
- Review the details to ensure they are correct, then click “Create connection”.
When the process is complete, select “Continue to configuration” and choose a Jira project you want to use for synchronization.
Configure Sync Rules
This specific use case requires you to add Groovy code snippets to customize the sync. You can also use AI-assisted configuration, Aida, within the sync script console.
After setting up the connection, click the “Edit Connection” icon to customize the sync settings. Focus on the following fields:
Outgoing sync (on the Zendesk side) refers to the data going over to the Jira side. Incoming sync (on the Jira side) refers to the data entering from the Zendesk ticket.
Under the “Rules” tab on the Zendesk side, enter this line of code in the “Outgoing Sync” text area:
replica.customFields."Mood" = issue.customFields."Mood"
Note: The issue.customFields method contains the unique key for the Zendesk custom field. The replica.customFields method contains the key value you want to pass to the Jira side.
On the Jira side, enter the following code into the “Incoming Sync” text area:
issue.customFields."Jira Mood".value = (replica.customFields."Mood"?.value?.value)?.capitalize()
Note: This line of code receives the value from the Zendesk custom field. The .capitalize() method converts the first letter of the received value into uppercase.
Click “Publish” to validate the code and establish the connection.
Tip: Use Test Run to validate your sync scripts against real data before publishing. This ensures your custom field mapping works correctly without affecting production data.
Your connection is set.
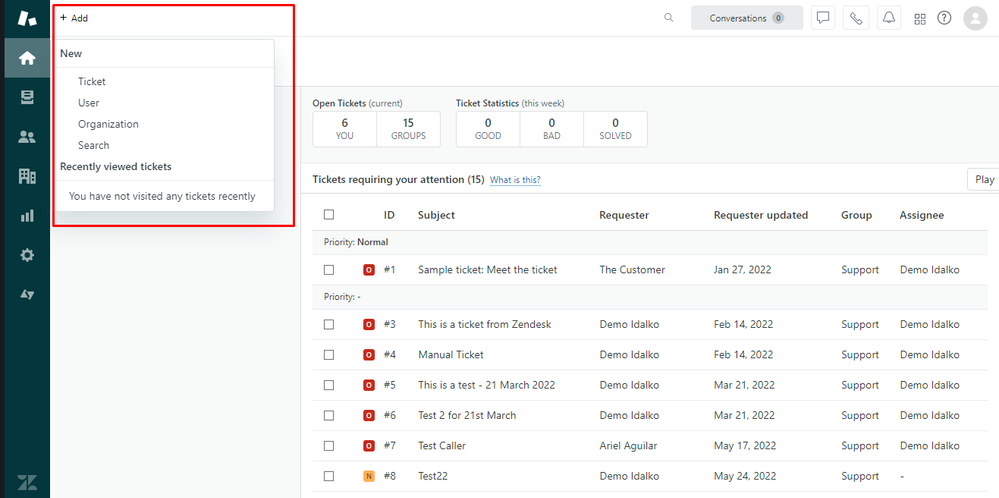
Go to the Zendesk dashboard and click “Add Item” to start. Select “Ticket” from the dropdown menu.
Enter a subject and description. You can also change the brand, requester, assignee, tags, and form. Then click “Submit as New” to save the ticket.
Go to the Apps tab on the right sidebar and click “Exalate”. Select the connection and complete the process.
Once the sync is complete, the status will change to “Synchronized”.
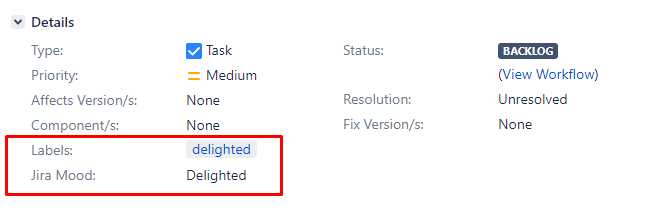
On the Jira work item, you will see that the label has changed and the mood has been updated.
At this point, changing the Jira Mood on the Jira side doesn’t affect the Zendesk ticket. So let’s fix that.
Open the Exalate console and adjust the rules in the Outgoing Sync textarea on the Jira side.
replica.customFields."Jira Mood" = issue.customFields."Jira Mood"
Note: This line of code tells the system to send over the value of the “Jira Mood” custom field.
Then go back to the Zendesk side and change the config for the Incoming sync.
issue.customFields."Mood".value = replica.customFields."Jira Mood"?.value?.value
Note: This line of code returns the (already capitalized) value from the Jira side using a slightly different syntax.
After that, go to the Jira work item and change the Jira Mood to a different value (say “happy”).
On the Zendesk side, this status will appear as a tag, and the value in the Mood custom field will change to correspond with what you have on the Jira side.

Click “Submit as New” to complete the process and save changes. And that’s all from my end!
Conclusion
Exalate is a flexible integration solution that allows you to sync the value of custom list fields bidirectionally between Jira and Zendesk. Its Groovy scripting engine makes it possible to configure sync rules and set triggers for advanced customization. Features like script versioning give you a full audit trail with rollback capability. If you want to see how Exalate works for your specific use case, book a demo with one of our integration experts. Get Exalate on the Atlassian Marketplace
Recommended Reading:


